If network-related issues disrupt your workflow or online activities, it’s time to restore the connectivity.
This network hiccup can be resolved by resetting the network settings, resulting in a smooth and reliable connection.
Here, we will deal with how to reset the network settings in both Windows 10 and 11 and perform the various steps and techniques to restore your network configurations to their default state.
Also, read: Easy Steps To Reset Windows Update Components!
Resetting Network Settings In Windows 11:
Resetting network settings is like a fresh start and is a reliable approach for troubleshooting network problems.
So, here are the steps to reset Network Settings in Windows 11 and enjoy an uninterrupted online experience.
1) Reset Network From Windows Settings
Take the help of the Windows Settings for resetting the network on your PC.
This simple yet effective step should be tried at the beginning before proceeding with the others.
This is what you have to do:
- Open Settings on your Windows 11 and search “Network and Internet” on the left.
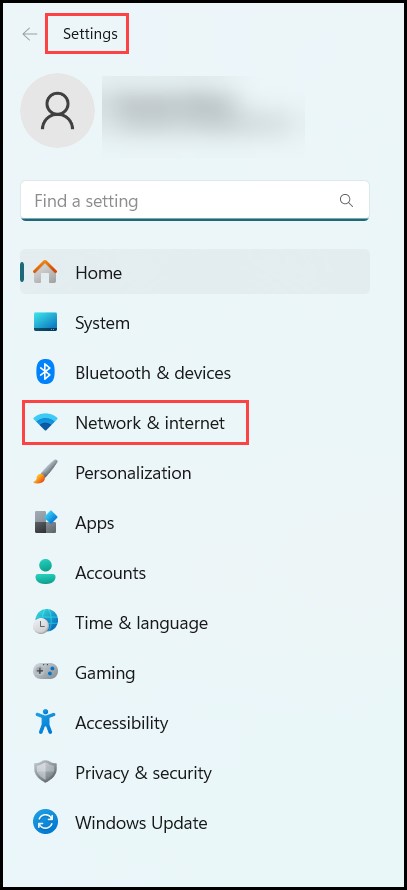
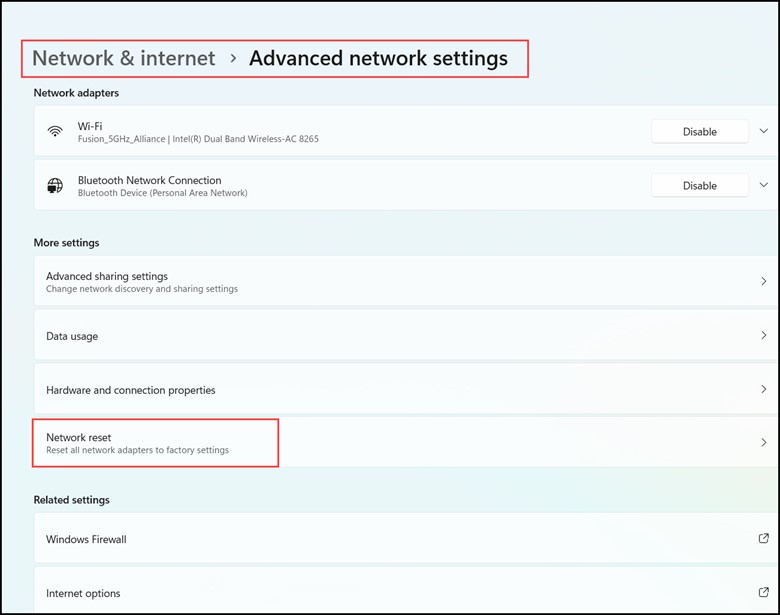
- Select “Advanced Network Settings”.

- In the next window, select “Network Reset”.
- On the next page, you will come across a detailed description of the consequences of resetting everything.
- After reading it, select “Reset now.”
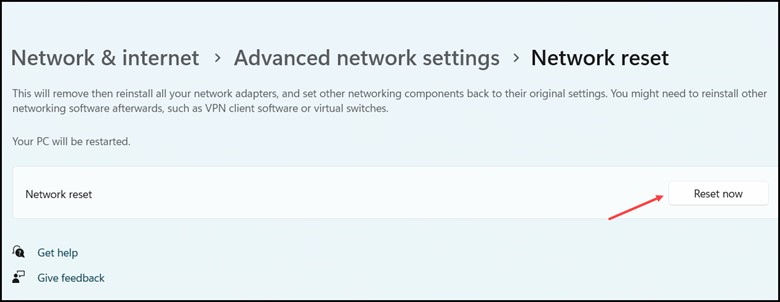
- Soon after, a small window will open, asking whether you are sure about resetting all the network settings. Select “Yes” as a sign of your confirmation.
- After completing the following steps, Windows 11 will reboot, and the network adapters will be reset to their factory settings.
2) Resetting Network Settings Using Device Manager
Resetting the network settings is also possible by using the Device Manager, and here is what you can do:
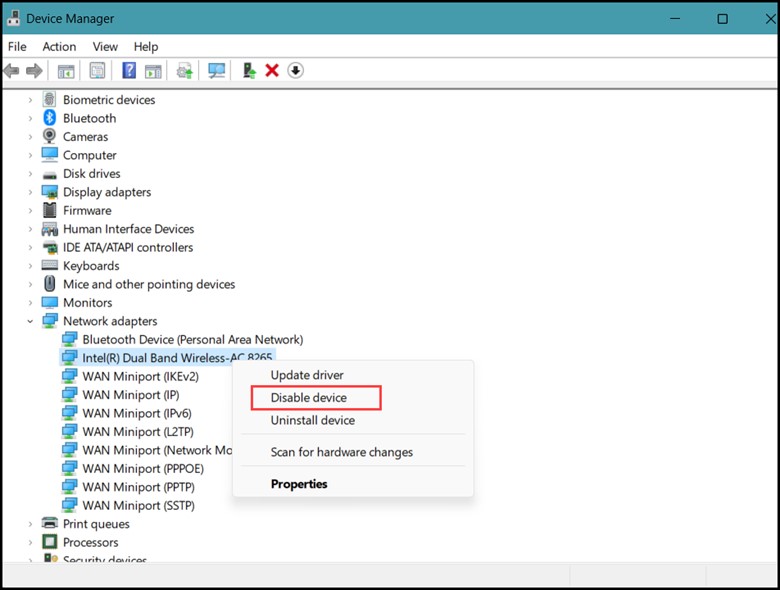
- Open the Device Manager and expand the Network Adapters section.
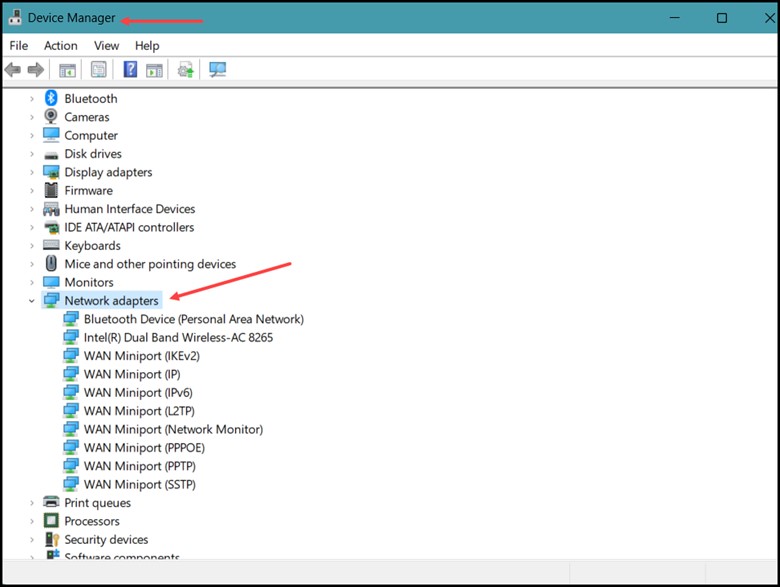
- Select the main network adapter, right-click on the selected device, and choose “Disable device.”
- After the appearance of the dialog box, click on “Yes”.
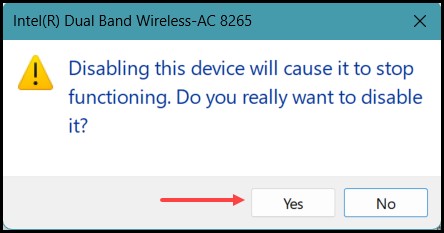
- The list of devices will automatically get refreshed when you click the “Yes” button.
- Finally, right-click on the primary network adapter and select “Enable device”.
- Doing this will reset your Windows 11 system’s primary network adapter.
3) Resetting Windows Network Settings Via Command Prompt
Command prompt helps the user to perform various operations on Windows with the help of some commands.
If you fail to reset the network settings by using the steps mentioned above, you will have to do it manually by taking the help of the Windows 11 command prompt.
To do this, follow the steps mentioned below:
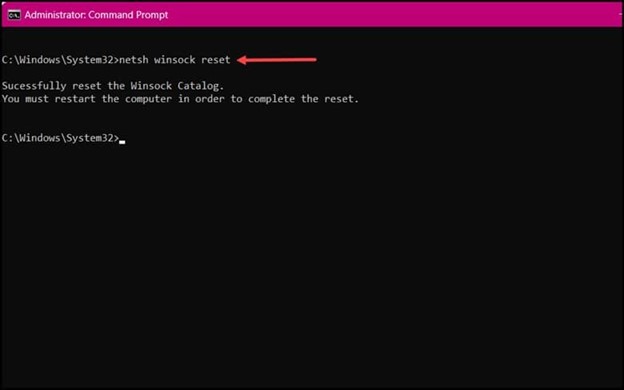
- On the elevated Command Prompt window, type the following
“netsh winsock reset” for establishing the communication between your PC and the network.
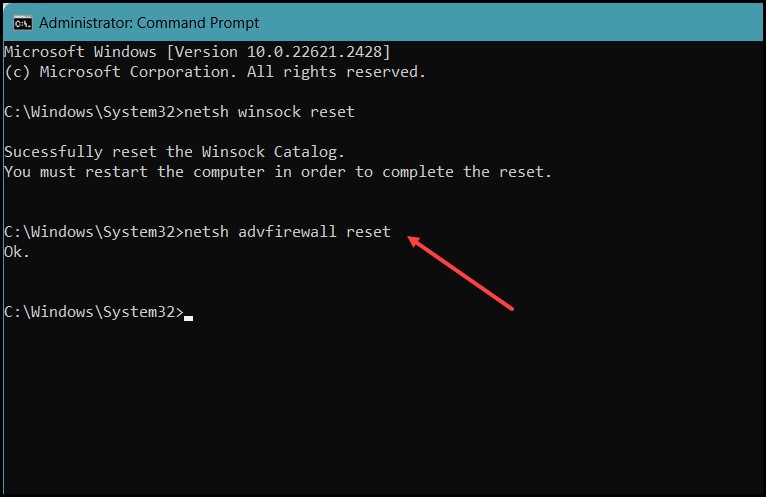
- Then, run the command “netsh advfirewall reset” to restore the Windows Firewall with the Advanced Security policy to the default policy.
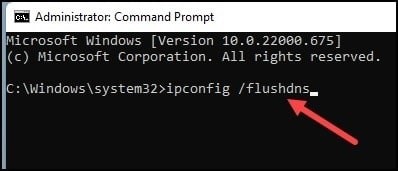
- Then, run “ipconfig /flushdns” and press “Enter”.
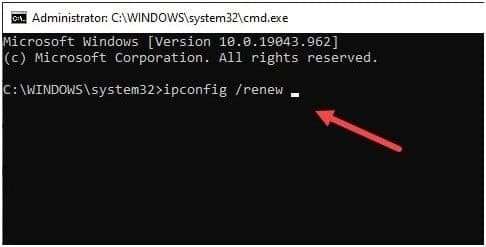
- Finally, run “ipconfig /release” and “ipconfig /renew” and press Enter.
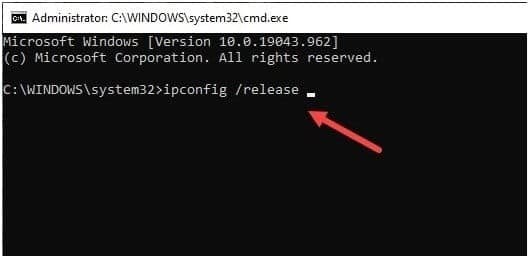
- Running both these commands will release and renew your IP address.
- After completing the above steps, close the Command Prompt and restart your PC.
After the PC starts again, the network reset process settings will be set to the default values, and soon, it will get connected to the network.
If you use a Wi-Fi network, you should connect to Wi-Fi using the proper credentials.
How Can I Connect To The Internet Automatically After A Reset?
Since a computer’s TCP/IP settings are set to “Automatic” by default, your computer is bound to detect network settings and reconnect to the internet after a reset.
But in case the computer doesn’t reconnect automatically, follow these steps to configure the settings:
- Navigate to the “Network and Internet” Settings page and select “Ethernet”.
- Then, select the drop-down arrow next to your network to show your TCP/IP.
- Scroll down until you view the IP assignment and verify if it says “Automatic (DHCP). If it doesn’t, select “Edit” on the right side.
- Soon after a window will appear, click on the drop-down menu to change the settings from Manual to Automatic (DHCP).
- Once you finish doing it, your computer will detect and connect to the internet.
What Does A Network Reset Do?
A Network Reset restores all the network-related settings to their default values, including Wi-Fi networks, Bluetooth connections, VPN settings, and cellular network preferences.
It is also helpful in troubleshooting specific network-related problems like difficulty connecting to Wi-Fi or Bluetooth, slow internet speeds, dropped connections, or any problems with VPN.
But before going for a network reset, it is essential to keep a backup of the crucial data since a network reset erases all the saved network information.
However, Resetting should be the last resort after you have tried out all the options and nothing worked in your favor.
Here are some of the things that a Network Reset does:
- Removes all VPN profiles
- Deletes all saved Wi-Fi networks and passwords
- Forget all paired Bluetooth devices
- Resets cellular network settings to default
- Clear network-related cache and cookies
- Reset firewall and proxy settings
Why Does My Network Connection Keep Failing?
If your Network Connection keeps failing, then there are a few potential reasons, and those are:
- Broken or damaged drivers
- Multiple wireless connections
- Incompatible Internet protocol configuration
- Corrupt router settings
- Network congestion
- Server overload
Frequently Asked Questions (FAQs)
- What Are The Risks Of Resetting Network Settings In Windows 11?
There aren’t specifically any risks to resetting network connections in Windows 11, but you should be aware of certain things:
- All saved Wi-Fi passwords will be deleted
- VPN or proxy settings will be deleted
- You may require connecting to any Wi-Fi networks that you were previously connected to
- You will likely need to re-configure any VPN or proxy settings that you were using
- How Can I Avoid Resetting My Network Settings In The Future?
You can do a few things to avoid resetting your Network Settings in the future, and those are:
- Keep the network adapters up to date
- Avoid making unnecessary changes to your network configuration
- Use a firewall or anti-virus software to protect your computer from malware and viruses.
- Back up your network configuration regularly to be restored later if needed.
- Will Resetting Network Delete All My Files?
Resetting the network will not delete all your files; it will only reset your network configuration.
- What Should I Do If I Still Face Problems After Resetting My Network Settings?
Even after resetting your network settings, if you still face problems, then try the following:
- Restart the computer and your router or modem
- Update your network adapter drivers
- Run the Windows network troubleshooter
- Get in touch with your internet service provider (ISP) for further help
Closure
That is how you can reset your network settings in your Windows 11 PC by following the steps outlined in the article to get your network connection back up and running.
It is essential to remember all the necessary files or settings before resetting your network.
To sum it up, now you are empowered with the knowledge of resetting the network settings in Windows 11.
Share your thoughts in the comment section below.