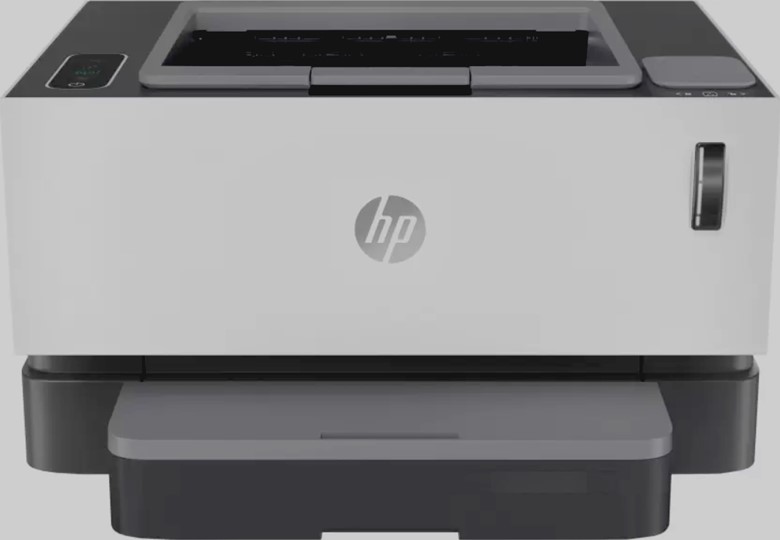
HP LaserJet printers promise exceptional print quality at an affordable cost. Its affordability and ease of use, make it a choice for homes and offices. The laser technology results in sharp text and crisp graphics thereby ensuring a clear and detailed output.
But at times, this reliable machine suffers from hiccups such as blinking light issues, or the lining issue, which in turn affects the print quality. Therefore, addressing the lining issue is essential especially if you are facing faded prints, uneven lines, or other anomalies. In this write-up, we will explore the print quality and lining problems and discuss specific troubleshooting steps to deal with them.
So, buckle up, tackle the issues, and ensure that your LaserJet printer delivers a flawless printing experience by applying the troubleshooting techniques mentioned here. Here are some techniques to enhance the printing experience and ensure crisp, clear, and consistent output from their LaserJet tank printers.
13 Easy Fixes For Print Quality And Lining Issues On HP Laser Printer Jet Tank
If the quality of the printed document is different than expected, then fixing the print quality is of utmost importance.
These are some of the fixes that you can try out in case you are experiencing print quality issues or lining problems:
1. Check Toner Levels
Low toner levels lead to faded prints and other quality issues. It results in faint prints or lines on the output as there may not be enough toner in the printer cartridges to create dark and vibrant text or images.
Low toner levels in the printer might lead to specks or spots on the prints. So, replace the toner cartridge with a brand-new ink cartridge. Also, empty or low-level ink can cause print quality issues.
2. Use Genuine Toner Cartridge
Go for the genuine HP toner cartridges to ensure compatibility and optimal print quality.
HP doesn’t give a guarantee on low-quality or non-HP cartridges. You can also buy replacement cartridges and other supplies from the HP Store.

3. Check The Paper Type
Paper quality can significantly improve the printing results. It has been observed that the choice of paper affects the print output and the overall appearance. Sharpness and clarity of prints get compromised if the low-quality paper is being used as the high-quality paper is specifically designed to deal with the ink bleeding or toner smudging issue.
Therefore, using high-quality paper for your printer is highly recommended. Low-quality paper is likely to affect the print results. So, by choosing the right paper, you can enhance the quality and longevity of your printed materials.
To Fix A Paper Jam In Your HP LaserJet Tank 1020 Printer read through this article.
4. Calibrate The HP Printer
You can run the printer calibration process through the settings to ensure proper alignment. Calibrating the printer will ensure accurate colors and alignments, resulting in quality prints.
Note that the steps for calibrating a printer vary from model to model.
5. Adjust Print Settings
Adjusting the print quality settings will be helpful and improve print quality. It will allow you to adjust various aspects of the printing process, such as resolution, color saturation, toner, or ink usage.
Therefore, experiment with different combinations of settings and find the proper balance. Also, remember that higher print quality settings will consume more ink or toner and will take longer to proceed with the printing process.
Now, see if the issue is resolved.
6. Check The Economode
Checking the Economode settings on an HP LaserJet printer is highly likely to affect the print quality. This feature is specifically designed to reduce the toner consumption and extend the toner cartridge’s life, potentially affecting the print quality.
This is how you can check the Economode settings:
- Open the printer properties or settings and look for “Economode” or “Toner Save Mode.”
- If the Economode is enabled, turn it off and see whether there is any considerable improvement in the print quality.
- If it has already been disabled, you can try allowing it to conserve the toner.
- After you have adjusted the Economode settings, print a test page and then look at the print quality.
Note: You will find a test page option in the Printer Settings.
7. Replace Empty Ink Or Toner Cartridge
Replacing a low or empty toner cartridge will likely solve the print quality or lining issue in your HP LaserJet printer. When the toner level becomes low or the cartridge is empty, it will lead to serious print issues, such as faded prints, uneven lines, and poor print quality.
Therefore, a new one will ensure a fresh toner supply and better print quality. Also, the uneven lines or streaks will be eliminated when the new one gets going.
8. Replace Or Clean Transfer Rollers
If the transfer rollers are dirty or worn out, replacing or cleaning them will enhance printing. Also, if the rollers contain toner residue, paper dust, or any other debris inside, it will eventually lead to various print quality issues.
Cleaning the rollers involves a simple process and here is it:
- Turn off your printer from the power source.
- Open it to access the transfer rollers.
- Now, with the help of a lint-free cloth or cotton swab along with isopropyl alcohol, gently clean the rollers.
- Ensure the rollers are completely dry before you close the printers.
Note: If cleaning doesn’t resolve the issue, replacing it will ensure optimal performance.
9. Print A Cleaning Page
While the printing work is in progress, dust particles can accumulate inside the printer and, over time, can cause print quality issues such as toner specks, smears, or marks.
You will also come across a cleaning mode that will help you to correct and prevent print quality problems. The cleaning process will take around two minutes, and the page will stop periodically.
Make sure you turn off the printer when the cleaning process is over. You may have to repeat the cleaning process several times to clean the printer thoroughly.
10. Update Firmware
Firmware updates include improvements, bug fixes, and optimizations that will enhance the printer’s overall performance along with printing horizontal lines. It will improve the various printer functions that, in turn, will lead to better print quality and smooth operation.
All you can do is visit the HP website and check for the firmware updates specific to your printer and model. Install the necessary updates, try printing, and then check the quality of the print. Ensure there aren’t any interruptions during the update process.
11. Run Print Head Cleaning Utility
HP print head issues generally result in many print quality errors on your HP LaserJet printer. It results in clogging or partially blocked print heads. Therefore, running a print head cleaning process is a standard solution to fix print quality issues.
This is how it can be done:
- Open the printer software and look for the “Maintenance” or “Tools” tab within the print software.
- Now, locate the print head cleaning option. It may be labeled as “Clean Print Heads.”
- Click on it and follow the onscreen instructions.
- Remove any dried ink, clean it properly, and print a test page.
12. Check For Software Issues
Various aspects of the printing process are influenced by software, so ensure that the software you are using isn’t the root cause of the problem. The quality of the print can also be responsible for the bugs or glitches inside the software. It can, therefore, cause unexpected printing issues, so make sure the application you are using is fully compatible with your printer model.
So, try to print from a different application and check whether the previous one is causing the issue.
13. Service The Printer
If you are done with all the above steps but are still experiencing print quality issues and the quality of a printed document needs to be better, contact HP and service your printer.
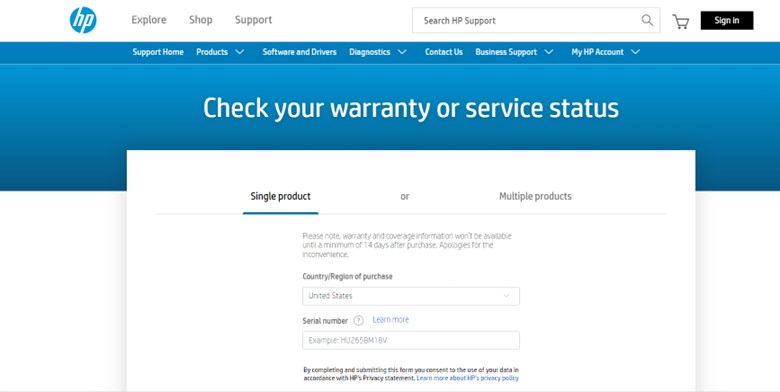
Go for a servicing or replacement if the issue with the printer persists, and contact HP Customer Support in case you are looking for a product repair or replacement.
To get the warranty status of your product, go to HP Product Warranty Check.
Frequently Asked Questions (FAQs)
- What Will I Do If My HP Smart Tank Printer Is Not Printing Black?
If your HP Smart Tank printer is not printing black, then try cleaning the print heads, replacing the black ink cartridge, or checking for clogs in the ink cartridges.
Also, printing a test page will ensure that there isn’t any issue.
- How Do I clean the print heads on my HP printer?
It is essential to clean the printhead on your HP Printer, and for this, you can use the built-in print head cleaning feature in the printer settings. Doing this will remove the dried ink or debris affecting the print quality and solve issues with the print head.
- What Should I Do If The Ink On My HP Printer Isn’t Coming Out Properly?
While attempting to print, if the ink on your HP printer isn’t coming out properly, then it is due to clogged print heads or empty ink cartridges.
In this case, wipe the print heads, replace the ink cartridges, or run a print quality diagnostic test to identify and fix the issue.
Final Words
In case there is any fault with the printer, users can now maximize the potential of their HP LaserJet printers by performing the steps mentioned above.
Also, you can seek assistance from HP support or consult the forums to gain valuable insights.