If you want to automatically shut down your Windows, then you can easily do it using specific commands and tweaking some settings.
So, when you do not have enough time to close certain tasks, schedule a shutdown on your Windows 10 following the methods discussed in this article.
How To Schedule Shutdown On Windows 10?
Now follow the methods explained below to schedule shut down on your Windows 10 PC.
Also know what to do when laptop won’t shut down.
1) Auto Shutdown Windows 10 Using Task Scheduler
Task Scheduler is Windows inbuilt tool to perform some routine tasks on your device.
With the help of Task Scheduler, you can schedule the shutdown command line, to shut down your device at the correct time and interval.
Now let us see how to do it:
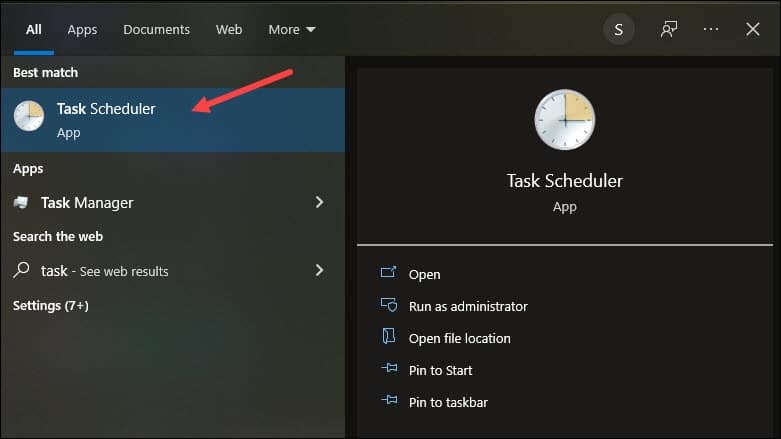
- Type Task Scheduler in the Windows search bar and select the top option.
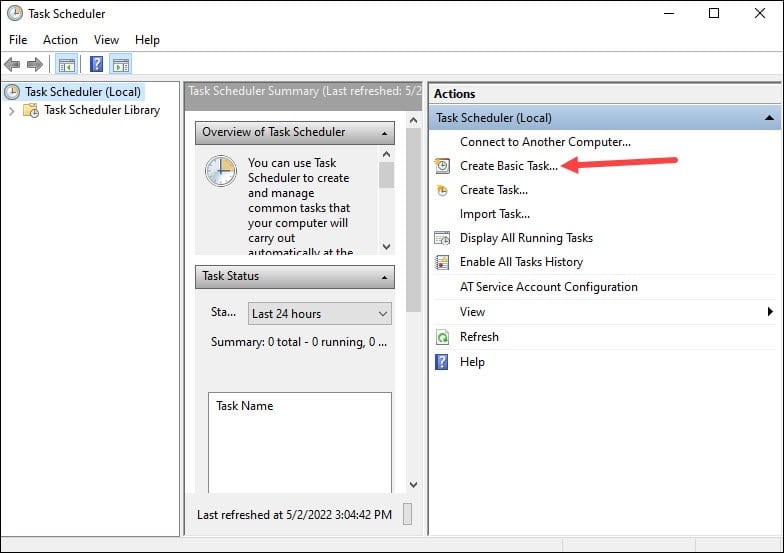
- When the Task scheduler opens, click on Create Basic Task option as I have shown below.
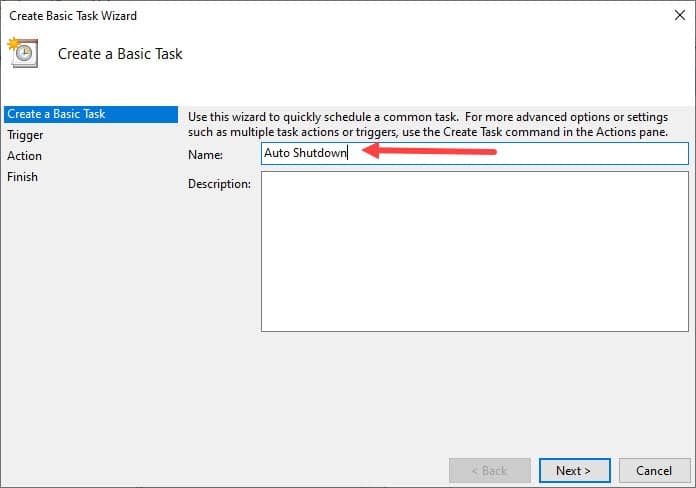
- In the Name field, give a name to the task. Like here, I have given: Auto Shutdown. Then click on the Next button.
- From the Trigger section, select when you want the task to start.
You will get several options here, so choose as per your preference.
- After selecting the frequency, click on the Next button.

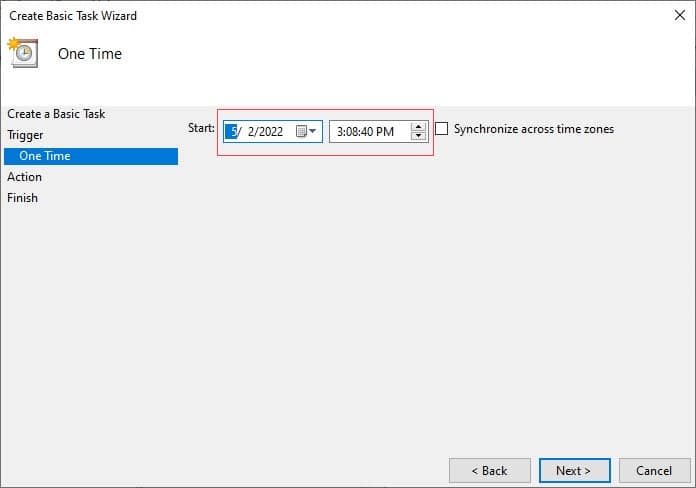
- Next, select the proper time and date to auto shutdown Windows 10 and click on the next button to proceed.
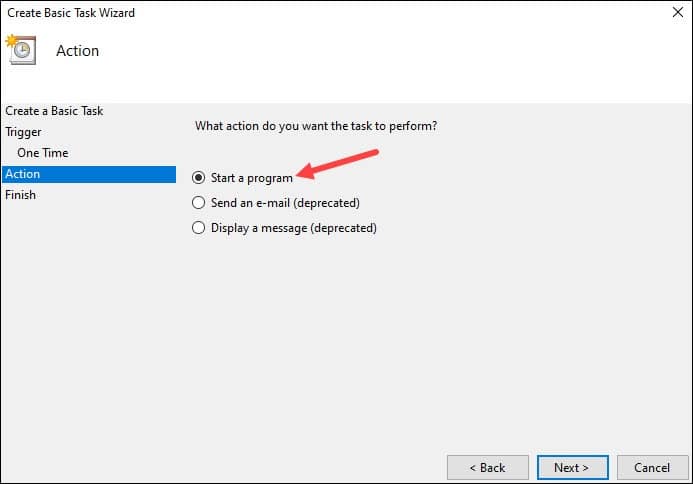
- Now from the list of options, select the Start a program option and then click on the Next button.
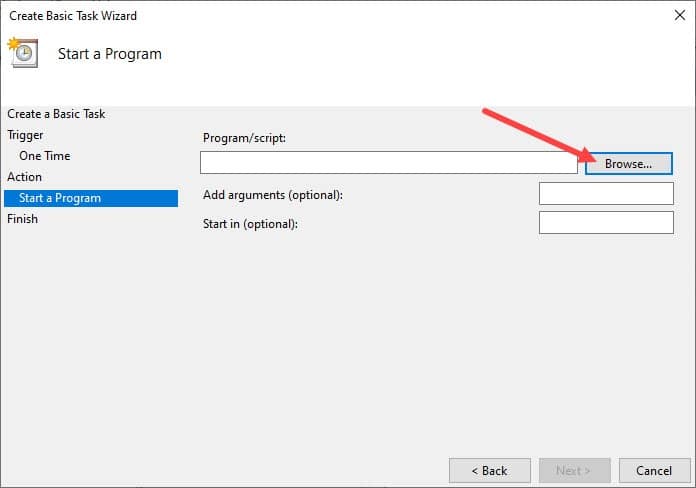
- Now click on the Browse option.
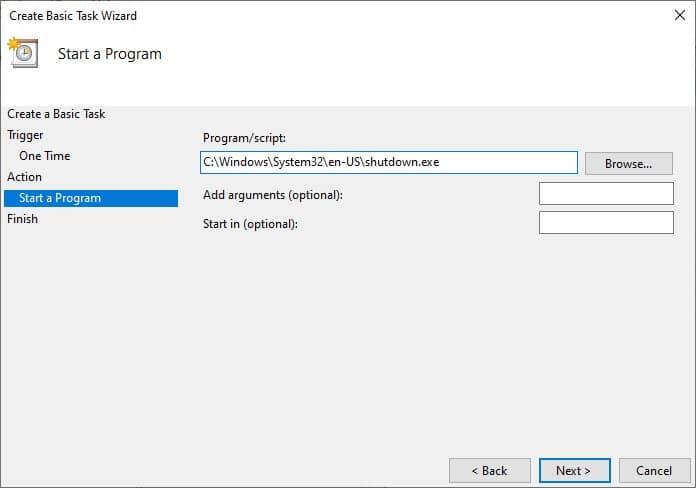
- Now browse to your default directory: C:\Windows\System32\en-US and click on the shutdown exe.
- In the next window, go to the Add arguments (optional) field and add –s. Then click on the Next button.
- Check if everything is as per your wish and then click on the Finish button to complete the action.
2) Set Shutdown Timer For Windows 10 Using Command Prompt
You can also use the Command prompt to set a shutdown timer for your Windows 10.
The process is simple and you just need to run one command for that.
Now let us see how to do it from the following steps:
- Enter CMD in the Windows search bar and select Command Prompt.
- Enter the following command in the Command Prompt window and press the enter key:
shutdown -s -t (number of seconds after which you want to shutdown)
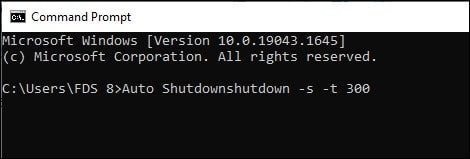
- Check the picture given above. Here I have selected 300 as the number of seconds.
So, my PC is scheduled to automatically turn off after 5minutes. You can select the time as per your convenience.
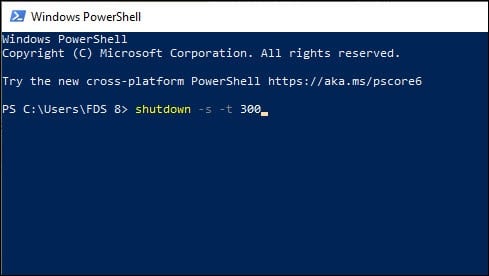
3) Auto Shutdown Windows 10 Using Windows PowerShell
Besides using Command Prompt you can also use Windows PowerShell to schedule a shutdown timer on Windows 10. Check the steps given below:
- Go to the Windows search box and enter PowerShell. Select the right option.
- Enter the same command in the Windows PowerShell command box as shown below and press Enter:
shutdown -s –t (number in seconds)
4) Shutdown Timer Windows 10 Using Run Utility
You may also use the Run utility to shut down your PC after a certain time. Follow the below-given steps to do so:
- Press Windows + R keys on your keyboard to open the Run utility.
- Enter: shutdown -s –t (number in seconds)in the Run command box and then click on the OK button.

You will see a pop-up window about the auto schedules time to shut down your PC.
5) Use A Third Party Tool To Schedule a Shutdown On Your PC
Besides using the above methods, you can also use some third-party shutdown assistants to schedule a shutdown on your windows.
There are plenty of such tools available in the market. These tools help you to restart, sign out, run a program on schedule or lock your PC automatically.
Many of the tools provide a free trial and so you can try them before spending your money on them.
Closing Up
So that was how to schedule a shutdown of Windows 10.
- If you have any other tech-related issues, feel free to share them with us in the comments section given below.
