Windows 10 was released in 2015 and brought in many features that improved the usability of the operating system. It is, however, far from perfect as many users report numerous bugs, which plague their user experience on their devices.
One such issue is the memory leak in Windows 10 operating system. This is a result of faulty memory allocation, as one or many RAM locations remain unreleased. Here I shall discuss Windows 10 memory leak, and how to solve this issue.
Why Is A Memory Leak In Windows 10 Bad?
A memory leak is said to have taken place on a system when the memory remains inaccessible despite being not used. An application or a system process fails to release a block of ram to the operating system’s memory manager once the requirement is over, resulting in a memory leak.
Since this is a software bug, physically changing the memory module will not solve your issue. A memory leak affects your system in many ways. These include:
- No free memory is available during idle tasks.
- Many applications fail to run properly if sufficient ram not available to them.
- Your system will feel slow and the performance will take a hit, as insufficient memory will lead to poor response time.
- Many applications may crash, including Windows itself.
- Continuous strain on the device may eventually lead to hardware issues as well.
How To Find Memory Leaks In Windows 10?
If you see your device slow down even during idle stages, you can suspect a memory leak. To confirm this, you can use many memory diagnostic tools, which will help you confirm your suspicions.
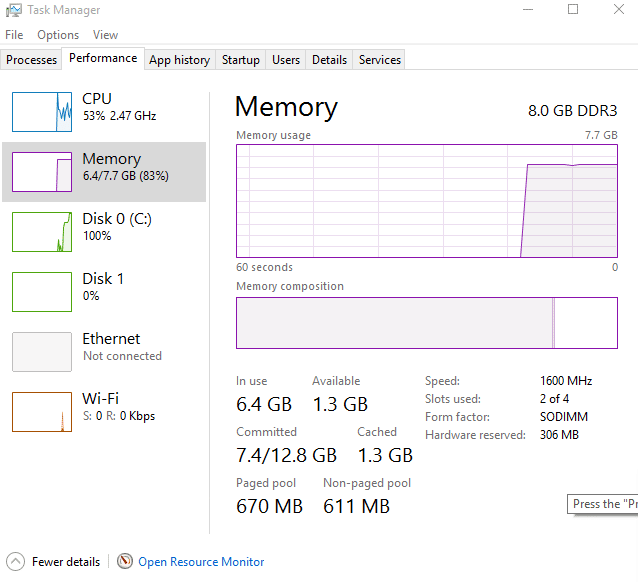
- You can use the built-in tool called Resource Monitor, which can be used to scan system resources. Use the Run dialog (Win + R), type resmon, and press Enter to launch the Resource monitor. Under the Memory tab, monitor the Standby (blue bar) with the applications you usually use running.
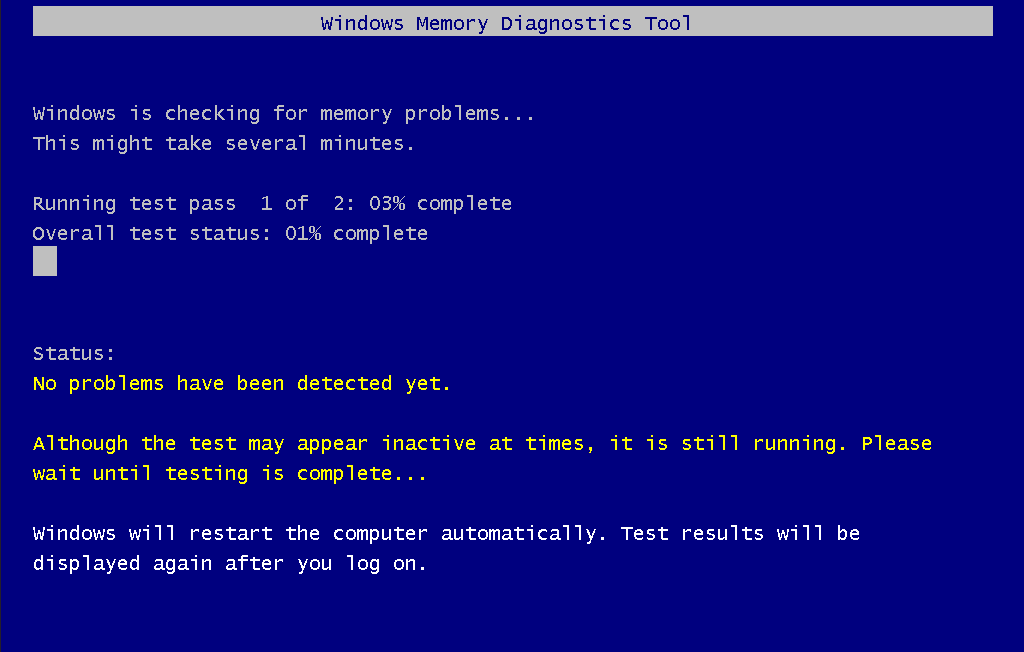
- You can also use the Windows Memory diagnostic tool to scan the memory usage at boot. Use the Run dialog and type mdsched.exe and press Enter. Select Restart now option, and Windows will scan your physical memory and device thoroughly at boot.
- Microsoft has another great tool called RaMMap, which can be used to check how Windows assigns physical memory and cached data in RAM. Download RaMMap, and run it as an administrator to diagnose your device for any lost memory.
How To Fix A Memory Leak In Windows 10?
If you found a memory leak on your device, you must fix memory leak immediately to save your device from being damaged. A memory leak is an issue that needs to be solved by the product developers. Here are some of the ways in which you can attempt to solve a Windows 10 memory leak.
Solution 1: Monitor Running Processes
The task manager is a great place to monitor your current processes and how much resources they are occupying on your device. Use the keyboard shortcut Ctrl + Shift + Esc to launch the task manager, and use this tool to monitor the applications running on your device.
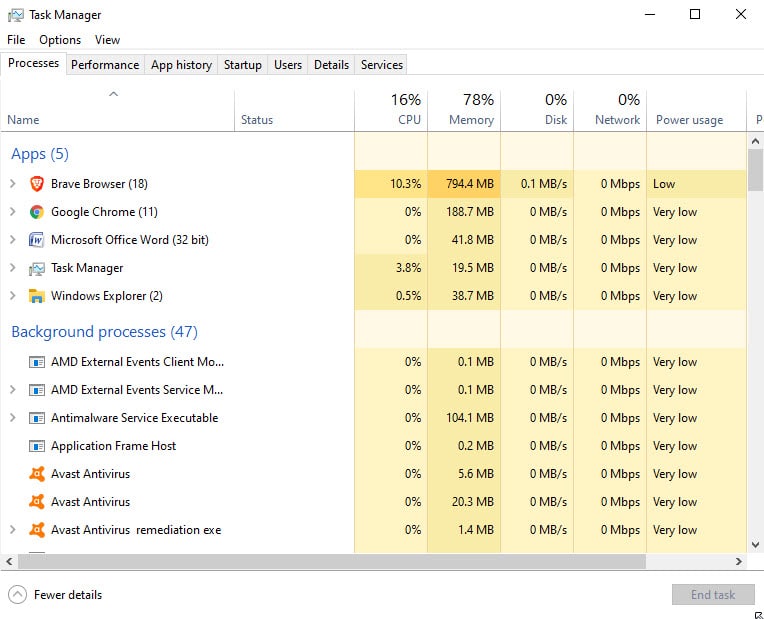
Close the unnecessary processes that are taking too much RAM. You can right-click on any process tree to reveal the context menu and select End task from there to kill the troubling process. One particular process that is known to cause errors is the Runtime broker. Check our guide how to fix Runtime broker high memory usage.
Solution 2: Check For Driver Updates
Outdated drivers also cause many problems, including memory leaks. Windows has included the inbuilt Device Manager tool that can be used to check outdated drivers on your device.
Open a Run dialog by pressing Win + R. Type devmgmt.msc and press Enter to launch the device manager.
Here, check for any outdated device drivers and then update them by right-clicking on them, and selecting Update Driver from the context menu.
Solution 3: Memory Diagnostic Tool
The memory diagnostic tool that you used earlier can also be used to scan and fix errors associated with your physical memory. This can come in handy if you suspect that the physical memory altercations may be causing this error.
To run and schedule a memory scan, follow these steps:
- Open a Run window by pressing Win + R.
- Type mdsched.exe and press Enter to launch the Memory Diagnostic Tool.
- A prompt will ask you if you wish to restart your device. Save all your important work, and click on Restart now and check for problems (recommended).
- Upon reboot, perform a basic scan, or go for the Advanced options like ‘Test mix’ or ‘Pass count’. Press F10 to start the test.
The diagnostic tool will scan and fix the bad sectors in your memory module, and may eventually fix memory leak on your device.
Solution 4: Check For Malware
Many users have reported that there was a hidden malware on their device, which was causing the improper memory allocation on their devices. This is actually a common fault that many people face, as malware can hide itself on devices by disguising themselves as other popular apps.
If you already own premium anti-virus software, you can use that to run a malware scan. Alternatively, you can choose from other free options like Malwarebytes, which can do the basics for free.
Solution 5: Defrag Your Hard Drive
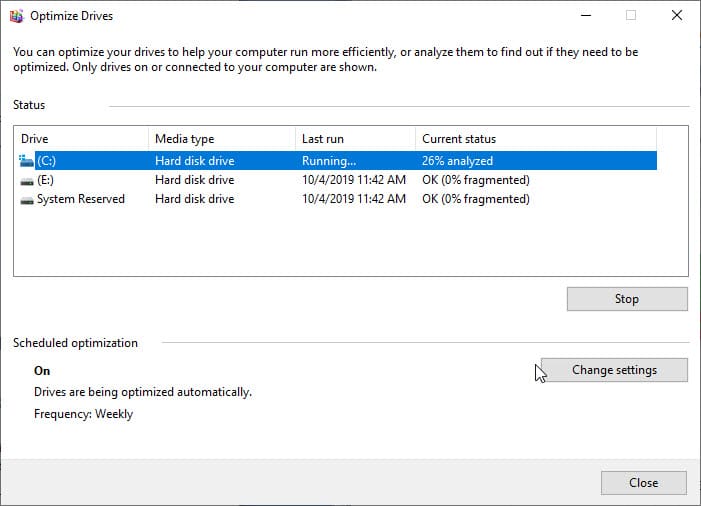
Windows 10 usually defrags your hard drive automatically to prevent any memory and storage errors. However, you can occasionally do this manually as well to optimize your performance.
- On your device, double click on This PC.
- Right-click on any one of the hard disk partitions. You can start with your system partition (usually C:\)
- Select Properties from the context menu.
- Under the Tools tab, click on the Optimize button, under the Optimize and defragment drive
After you follow the on-screen instructions that follow, restart your device to save the new fragmentations.
Solution 6: Clear Pagefile.Sys At Shutdown Using Registry
You can use this simple registry tool, to clear the PageFile.sys that Windows uses as Virtual Memory. When Windows runs out of physical memory, it uses Page File by writing some of the memory to the disk. Clearing this will increase the shutdown time of your device, but the memory allocation shall improve.
- Open a Run window by pressing Win + R.
- Type regedit and press Enter to launch the Registry Editor. Click on Yes in the User Account Control prompt.
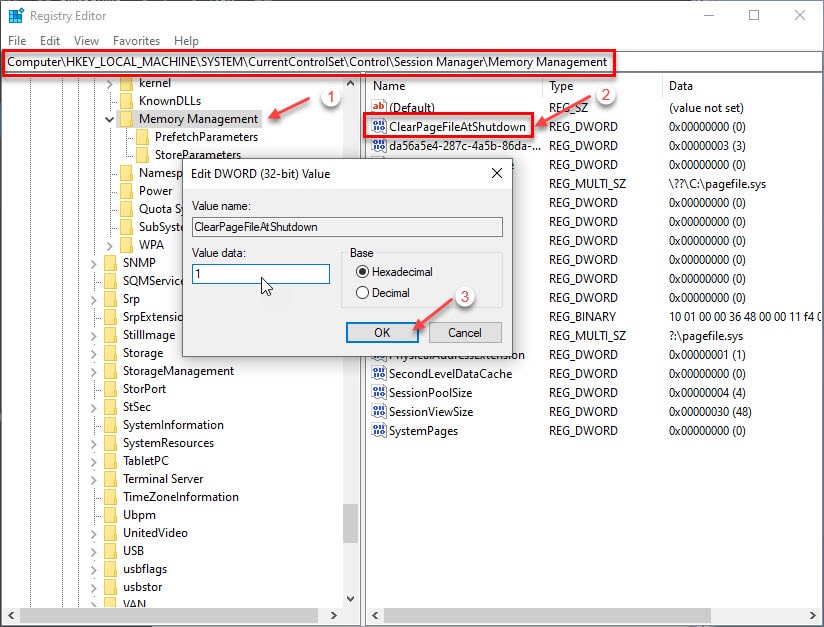
- Navigate to the following path, by pasting this location in the address bar of the Registry Editor.
Computer\HKEY_LOCAL_MACHINE\SYSTEM\CurrentControlSet\Control\Session Manager\Memory Management - Locate and double click on ClearPageFileAtShutdown to modify its value.
- Change its value to 1.
- Restart your device.
Wrapping Up
As mentioned earlier, Windows 10 memory leak is an issue to debug by the software developers. However, as an end-user, you must have had a query about how to fix a memory leak. Hence, these were some tips that you can apply to fix this issue on your device. Did you find this useful? Tell in the comments and to discuss further the same.