Teredo is a networking technology that allows the server and client to establish a secure connection.
You may be unable to use multiplayer gaming or party chat on Xbox Live if you encounter the Teredo is unable to qualify error.
To fix this problem, follow this article and perform the solutions as mentioned.
How To Fix If Teredo Is Unable To Qualify?
Here I will discuss some easy steps to fix teredo is unable to qualify error. Follow the solutions below to do so-
1. Check Internet Connection
The first thing you have to do is check the internet connection when Teredo is unable to qualify error appears.
To check whether you are connected with internet or not, follow the steps given below:
- Open the Xbox app on your PC.
- Select Network from the options menu. Then see if the status of your Internet connection is connected.
If the network status indicates that you are not connected, then try the following steps to fix it:
- Press Windows + I keys simultaneously to open the Settings.
- Click on Gaming option under this menu.
- After the window open select Xbox Networking from the left panel. If the status is not connected, then click on Fix it to start the troubleshooting.

Follow the instruction on your screen to complete the process.
Restart your PC and reconnect Xbox with your system and check if the problem persists.
If not, then follow the next steps to know how to fix teredo Xbox app.
2. Uninstall The VPN Service
Sometimes the VPN service may create an obstacle and makes teredo unable to qualify.
So uninstall the particular VPN application you are using to do so follow the steps below:
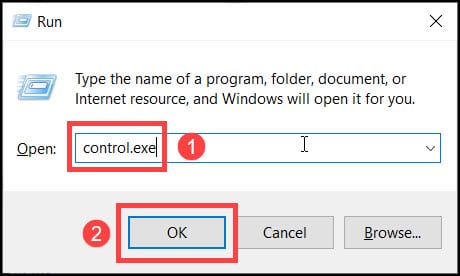
- Press the Windows key + R to open run utility.
- On the dialog box type control.exe and press enter to open the Control Panel.
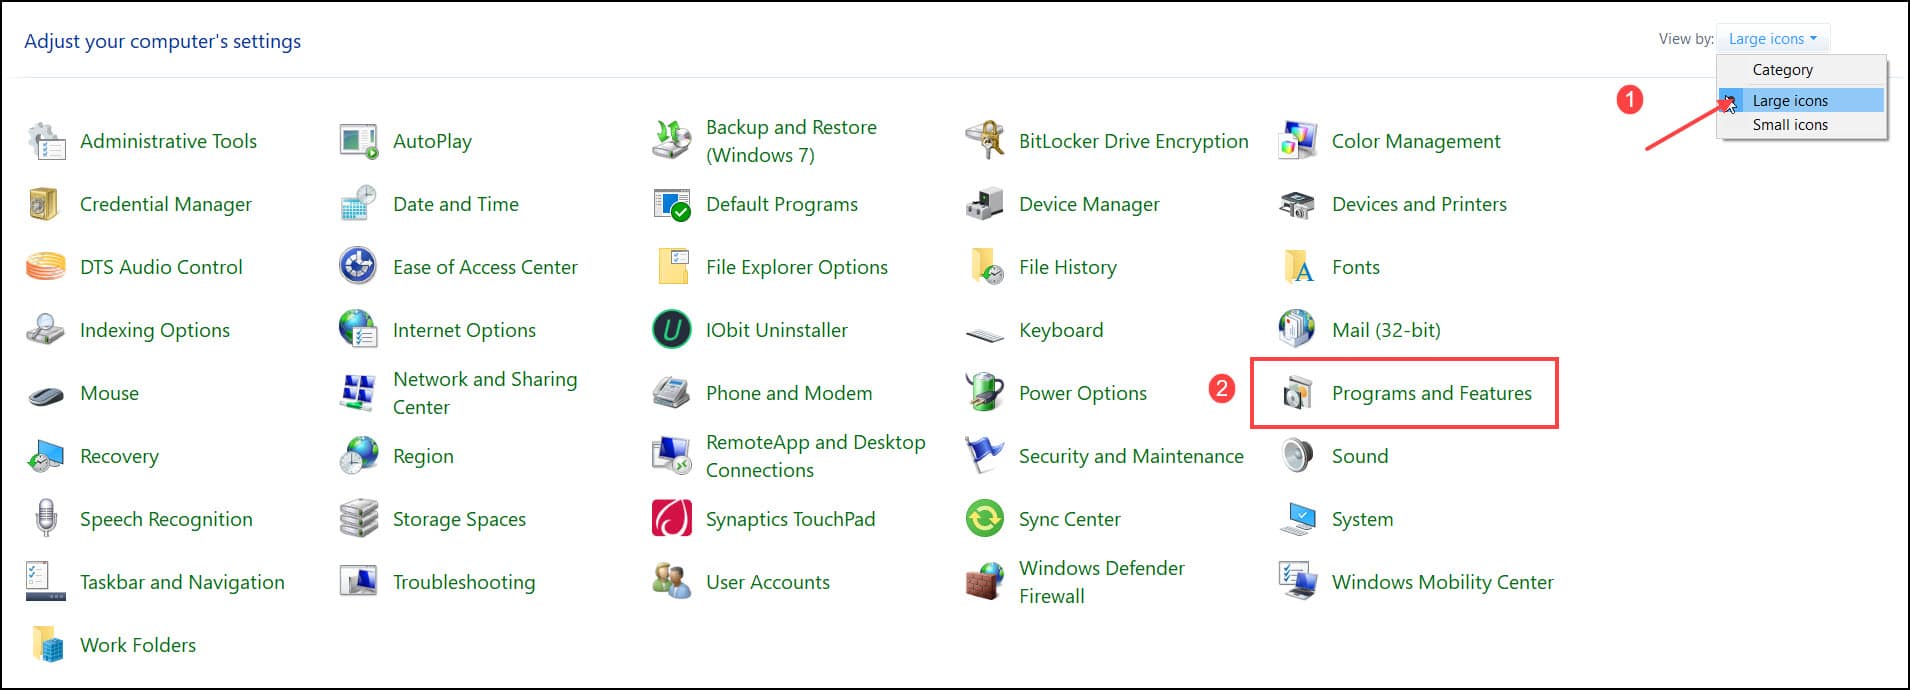
- Click on the Programs and Features option under the menu.
- Find your VPN service Right-click on it and click on uninstall option.
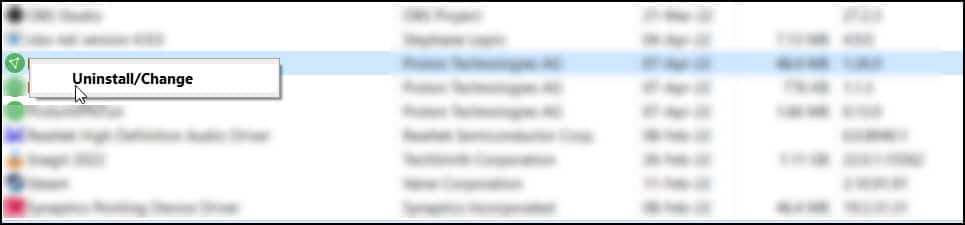
- Follow the instructions on the running wizard to completely remove all the components under this application.
After the process completes click on Finish then restart your PC. After the PC starts check if the issue still persist then follow the next solution.
3. Enable Teredo From Registry
If teredo is still unable to qualify, then there is a possibility that it has been disabled from the registry.
So, follow the steps and check how to fix Teredo that is unable to qualify by enabling it from the registry.
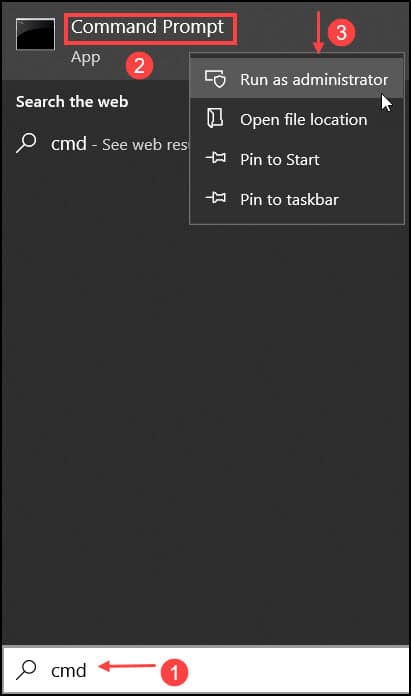
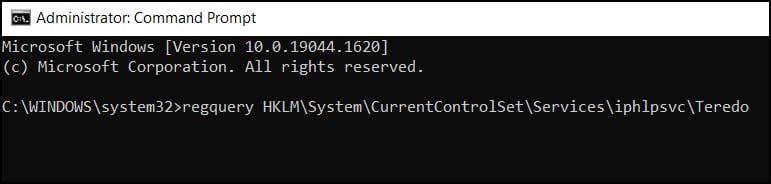
- Enter CMD in the Windows Search box and choose Command Prompt as Run as administrator.
- Input the following command and press the Enter button to run the command:
regquery HKLM\System\CurrentControlSet\Services\iphlpsvc\Teredo
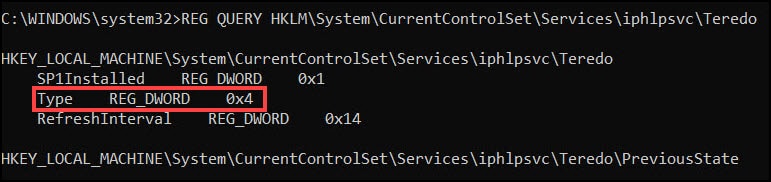
- If Teredo is not enabled in the registry the following output will appear, along with some information:
Type REG_DWORD 0x4
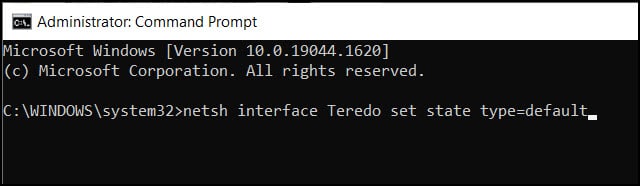
- To enable teredo, enter the following line of command and press the Enter button.
netsh interface Teredo set state type=default
4. Examine IP Helper Status
Teredo cannot launch and function properly without the IP Helper system.
To make sure this system is up and working, do the following:
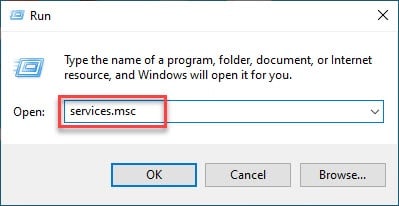
- Press Windows + R simultaneously to open Run Utility.
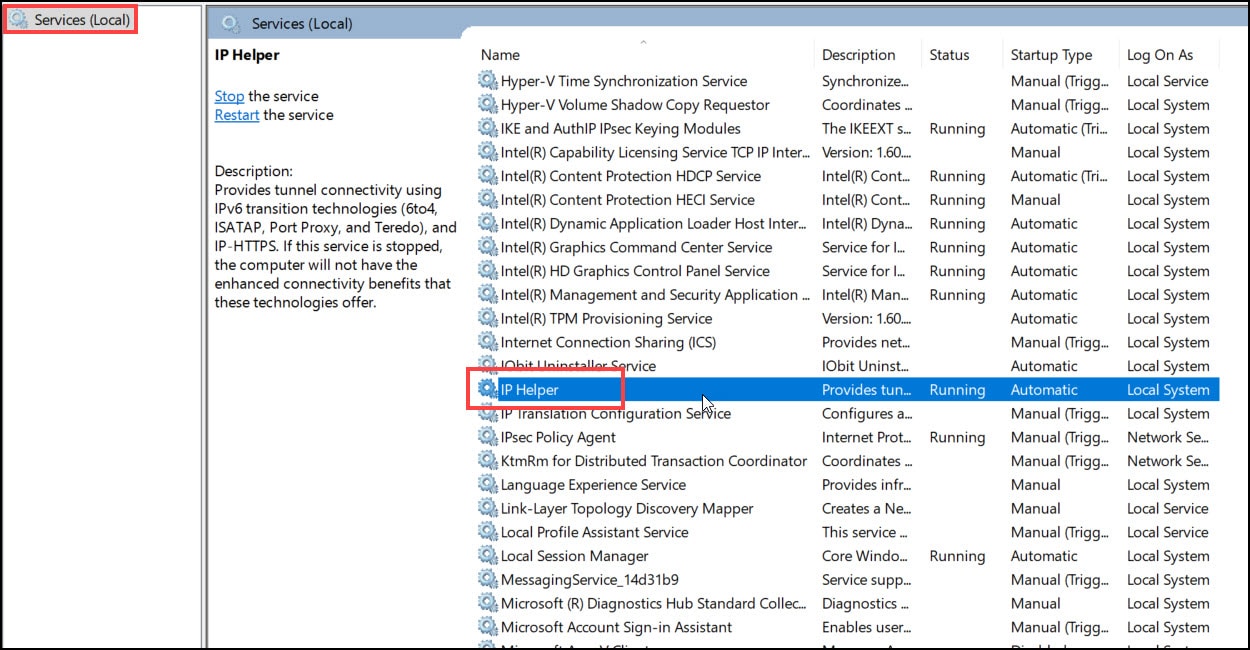
- In the dialog box type services.msc and hit Enter.
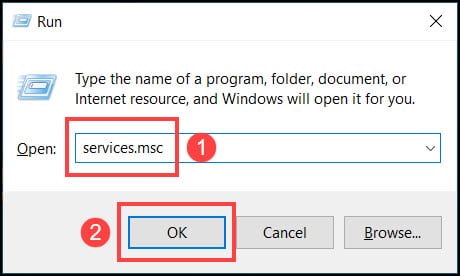
- Locate IP Helper option and then double-click on it.
- Choose Automatic as your Startup type.
- Choose Start to start the service.
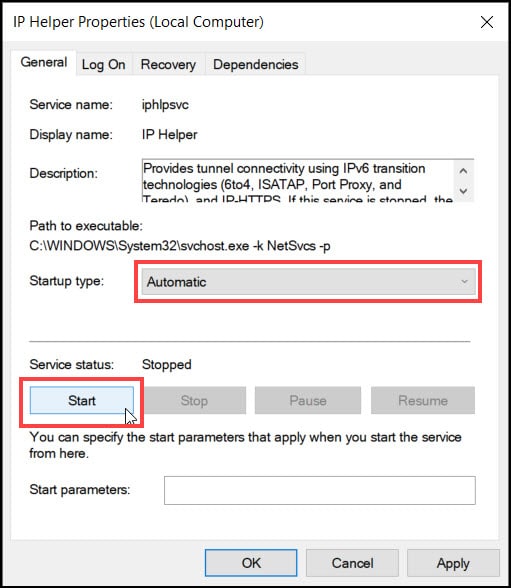
- Select Apply and OK to save the changes.
If your IP Helper won’t start, try the following steps:
- Press Windows + R to open Run utility.
- Type services.msc on the dialog box and press Enter from the keyboard.
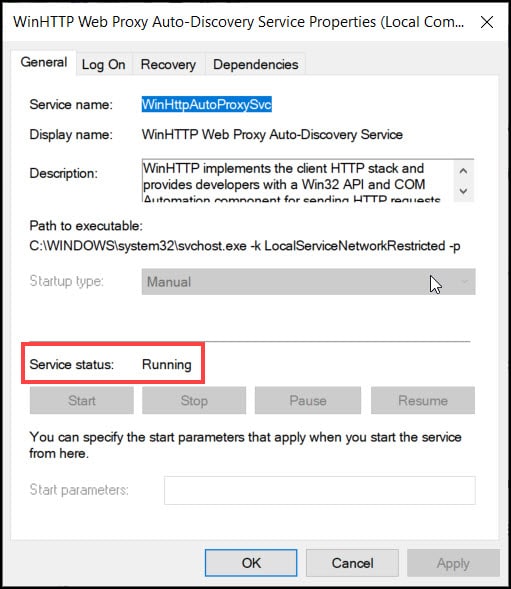
- Locate IP Helper and double click on it, then switch to the Dependencies tab.
- Under This service depends on the following system components section, take note of everything in the list.
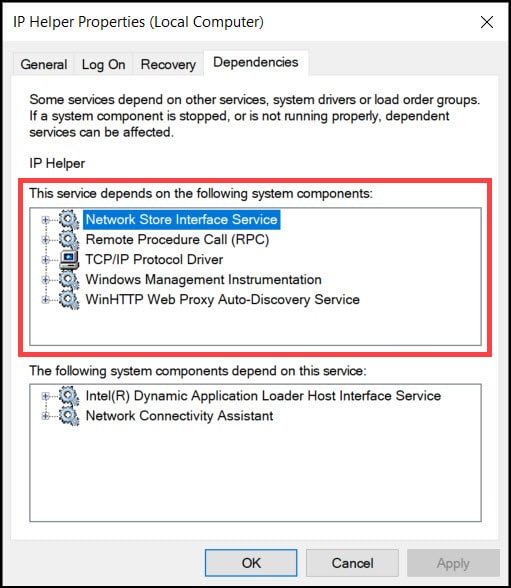
- Now check each of the components from the Dependencies tab in the Services window and make sure all of them are running.
Most often the WinHTTP Web Proxy Auto-Discovery Service is going to be disabled, so at first, check that component.
Now try to enable the IP Helper service again and check if the issue is resolved.
5. Examine Teredo Server Name
A proper server is required for Teredo to work properly. To fix the Teredo issue, follow these steps:
- Open the Elevated Command Prompt.
- Type the following command and then hit enter to run it:
netsh interface Teredo show state
If you get ‘Failed to resolved server name’ message on the screen, then it might be due to the invalid server name or teredo is blocked.
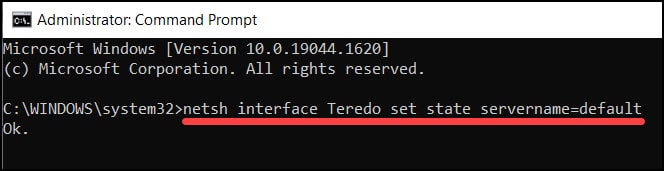
- To start the server name with its default name, copy paste the following line and hit the Enter key to run the command.
netsh interface Teredo set state servername=default
Also check if Teredo is blocked by an application following the steps given below
- Again open Elevated Command Prompt.
- Type and hit Enter to execute the following command:
netsh interface Teredo show state
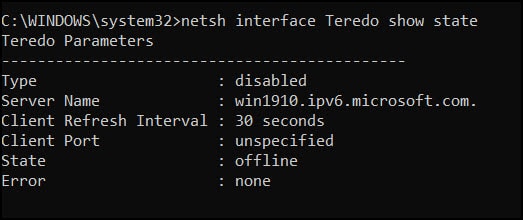
- It’s important to note that the server’s name is win1910.ipv6.microsoft.com.
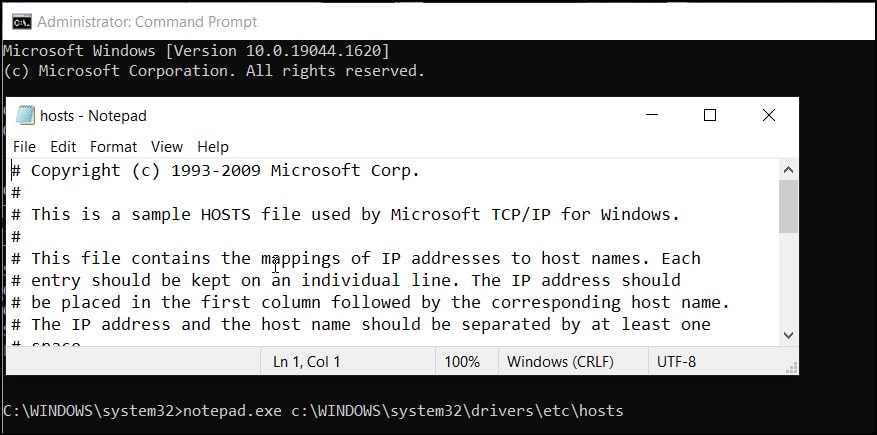
- Type or copy paste the following command and hit enter to open the hosts file-
notepad.exe C:\WINDOWS\system32\drivers\etc\hosts
- Press Ctrl + F from the keyboard to open the find box.
- Type or copy paste the server name in the box and hit Enter key.
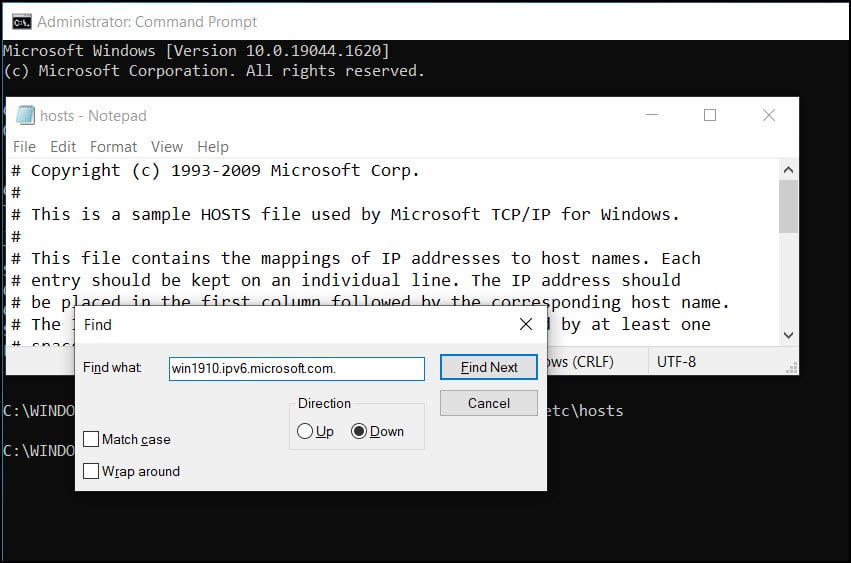
- If the text is discovered, remove it from the host file and restart your PC.
6. Reinstall Teredo
If you’re still having trouble to fix the issue, then reinstall it to solve. Follow the below steps-
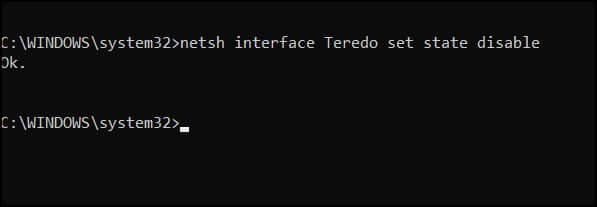
- Again open the Elevated Command Prompt window and run the following command:
netsh interface Teredo set state disable
Now remove the Teredo by following the steps –
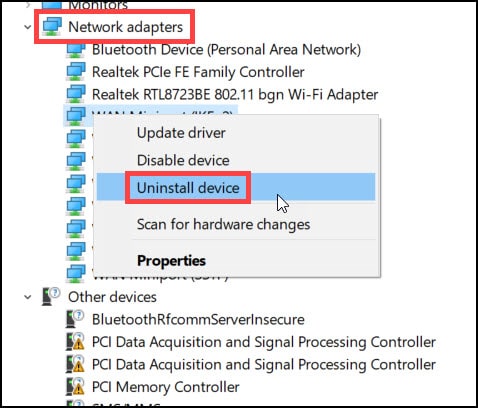
- Open Device Manager and jump on the View
- Choose Show hidden devices option and then find Teredo in the Network Adapters option.

- Right-click on it and select Uninstall Device option.
- Restart your PC, after the PC opens type or copy paste the following command in the Elevated Command Prompt to re- enable the Teredo:
netsh interface Teredo set state type=default

Important: You don’t need to install the Teredo Tunneling Pseudo Interface as it gets automatically reinstalled.
Wrapping Up
So after reading this article, now you know how to fix the Teredo is Unable to Qualify error.
If you still have queries regarding this matter, ask us in the comment section provided below. Feel free to share and stay connected.