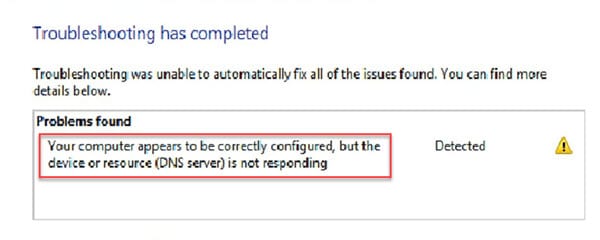
The Domain Name System is a server used by your computer to connect to the internet. The correct DNS server is a necessary component if you want to connect to the internet. However, some users have recently reported that they cannot connect to the internet, and when they run the network troubleshooter, they get the following error message:
‘Your computer appears to be correctly configured, but the device or resource (DNS server) is not responding.’
Here, I shall discuss some easy solutions that you can use to solve the DNS server not responding error on Windows 10. Check out this article if you see ‘DNS Address could not be found’ error message.
How To Fix DNS Server Not Responding Error?
There can be many reasons why you may be facing this error on your computer. Since more than one reason can lead to this error, it is recommended that you go through all the solutions in the order provided here.
Solution 1: Restart The Network
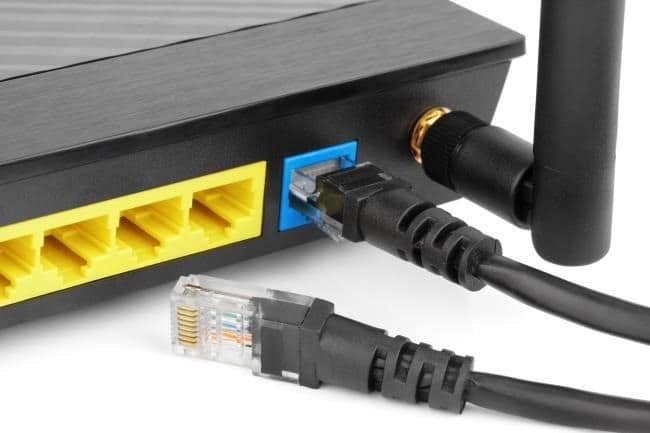
One of the easiest solutions that you can try to solve this error is to restart the network. This will clear the idle network configurations which may have been causing the DNS not responding error on your computer.
Simply unplug your router from the power supply and wait for some time before connecting the router back to the power. Now connect to the router and check if you are able to connect to the internet normally. Your error should now be resolved.
Solution 2: Update The Router Firmware
If you are unable to solve the error by restarting the router, the next thing you need to do is to update the router firmware.
You will find the latest router firmware from the Update section of the manufacturer’s website. Download the latest firmware version according to the router manufacturer and install it. Once the updated firmware is installed, check if the error persists.
Solution 3: Flush DNS Cache
You can also clear the DNS cache if you see the DNS server not responding on your computer. This will remove any built-up cache which may be causing network throttles on your computer. Follow these steps for the same:
- Open an admin command prompt from the start menu, or the WinX menu if you have replaced PowerShell with cmd.
- Enter the following commands one by one and press Enter after each one:
ipconfig /release
ipconfig /flushdns
ipconfig /renew
nbtstat -r
netsh int ip reset resetlog.txt
netsh winsock reset
Once you receive the confirmation message, restart your computer. The DNS not responding error should now be resolved.
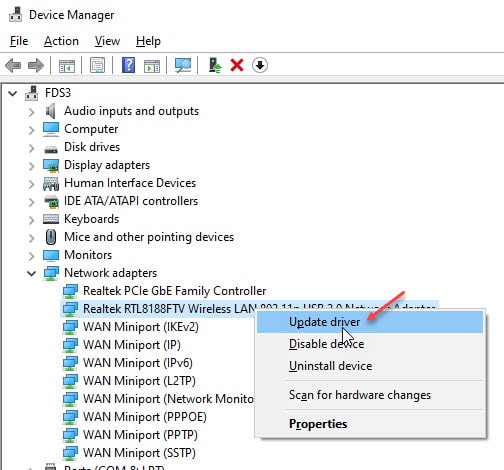
Solution 4: Update Network Adapter Drivers
If renewing the DNS cache did not solve the DNS server not responding error, you can try updating the network adapter drivers.
We have discussed all you need to know about device drivers here. You will also find there the detailed steps to update the network drivers.
Solution 5: Use Public DNS
If the DNS server that is used by the computer does not respond, you can attempt to use a public DNS server like Google DNS or OpenDNS.
The detailed steps to change the DHCP client DNS server to public DNS server have been discussed in our article that helps solve Netflix error code U7353. Check the steps there to manually change the DNS server. Your error should now be resolved.
Solution 6: Disable Firewall
The firewall is an imaginary protection shield, that monitors the network and protects your computer from malicious users online. However, a misconfigured firewall can block the network activity completely, leading to a variety of errors.
If you have a third-party antivirus software with an integrated firewall, use the antivirus GUI to turn off the firewall.
If you are using Windows Firewall, we have discussed firewalls in this article. You can find the steps to turn off the firewall there as well. Once you have disabled the Firewall, check if you still see ‘the DNS server isn’t responding in Windows 10’ error message.
Solution 7: Change Physical Address In Network Properties
This is a simple workaround that you can use to solve the DNS error on your computer. This involves you changing the physical address in the Network Connection Properties window. This will help you if somehow the settings got changed to the wrong value.
Here are the steps that you can follow for the same:
- Open a command prompt window.
- Here, type the following command to find all the information about the Network adapter setting:
ipconfig /all - Locate your network adapter from the list of available networks.
- Under your network adapter, take note of the value next to the Physical Address section.

- Next, open a Run dialog by pressing Win + R keys simultaneously.
- Type ncpa.cpl and press Enter to launch the Network Connections window.
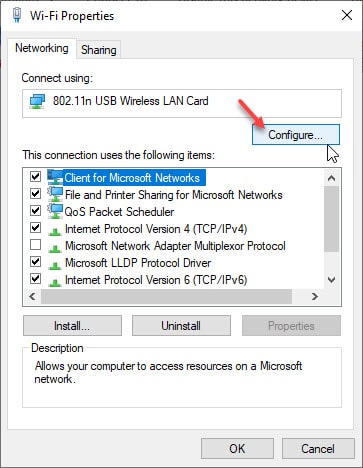
- Locate and right click on your network adapter.
- Select Properties from the revealed context menu.
- Under the Networking tab, click on the Configure… button.
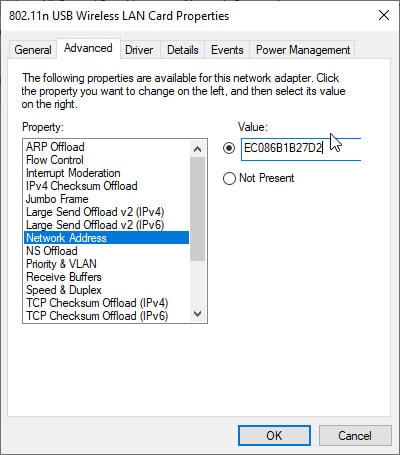
- Go to the Advanced tab and select Network Address from the list of available properties.
- Click on the Value radio button.
- In the text box, enter the physical address that you marked in step 4 above, without the dashes.
- Restart your system.
Upon restarting your computer, you should be able to connect to the internet without any restrictions.
Wrapping Up
So there you have it. Now you know how to fix the DNS server not responding error on Windows 10 using one or a combination of the solutions provided above. Comment below if you found this useful, and to discuss further the same.
ipconfig /release
ipconfig /flushdns
ipconfig /renew
nbtstat -r
netsh int ip reset resetlog.txt
netsh winsock reset
These are very helpful commands. After performing these commands, the issue is fixed. Thank you.