If you connect multiple printers on Windows 11, it will select the most recently used printer as the default one.
This can be a convenient feature for a few people, but most of the users want to set up their preferred printer as the default one.
Changing the default printer on Windows 11 isn’t rocket science, but you can do it easily!
Go through the article and learn how to set your preferred printer as the default one.
Also read: How To Connect Canon Printer To iPhone?
What Are The Ways To Set A Default Printer In Windows 11?
Setting up a default printer in Windows 11 is a simple process, and there are various ways by which you can do it.
Follow the methods given below to do so.
1) Use Settings App
Setting a printer as the default one using Settings is the most convenient way.
Follow the steps given below to set up your preferred printing device as the default one from Settings:
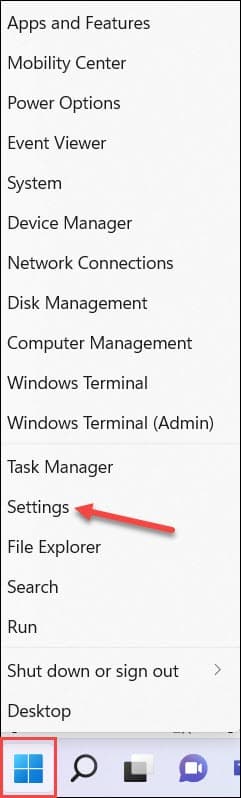
- Right-click on the Search button and select the Settings option.
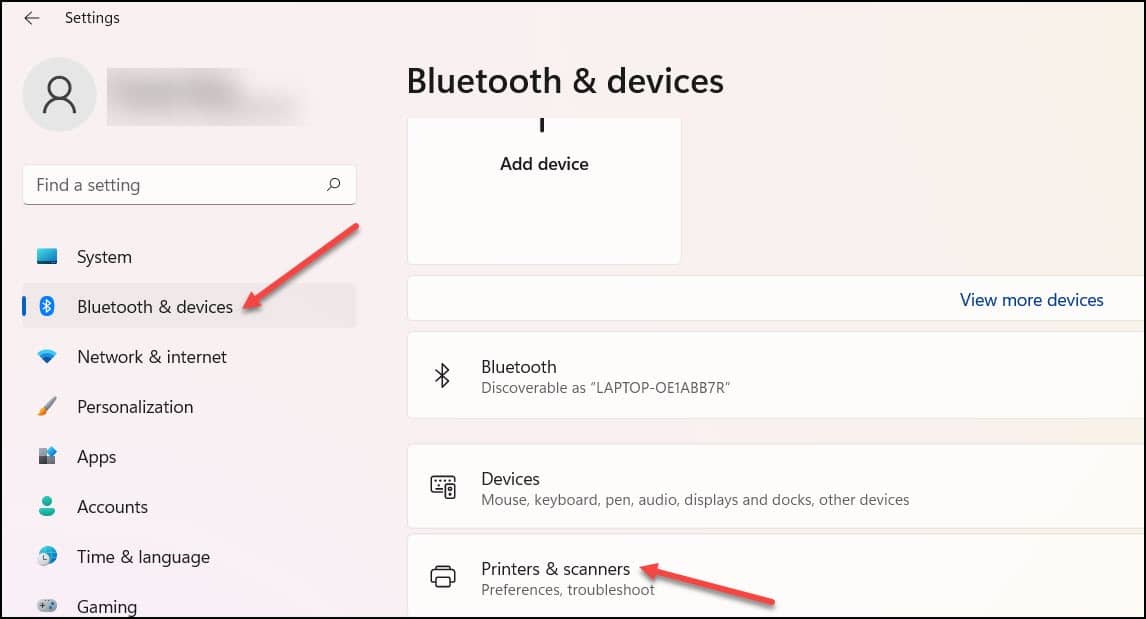
- From the left panel, select Bluetooth and Devices
- Click on it and select Printers and Scanners.
- Turn off the toggle button for Let Windows Manage My Default Printer.
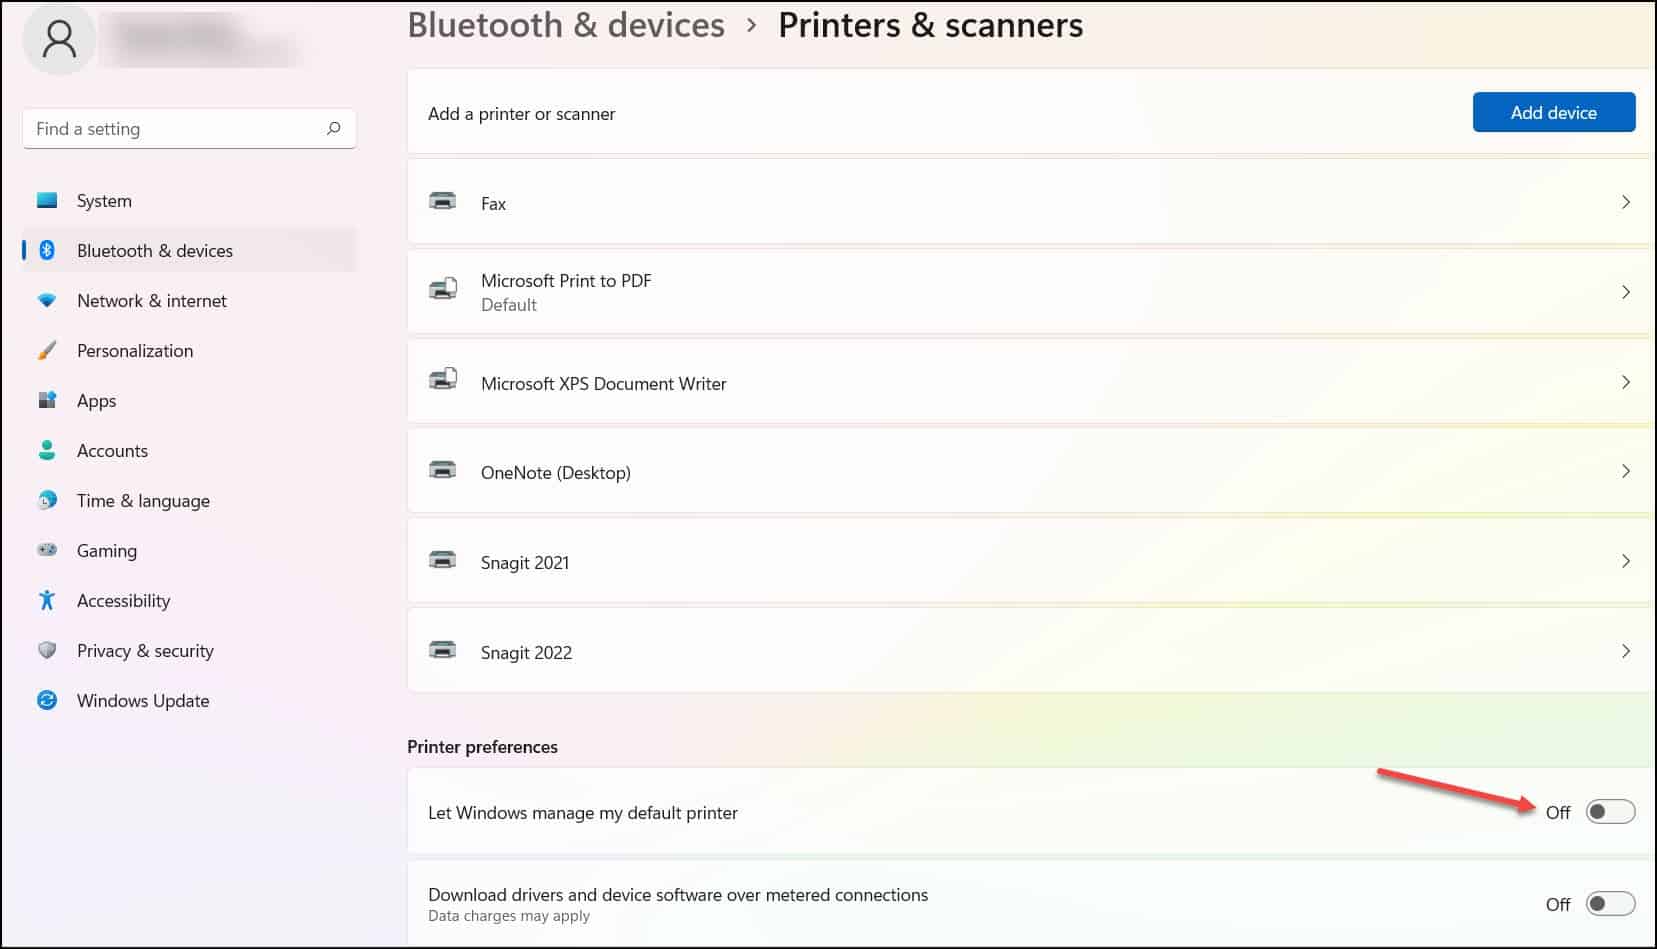
- Scroll up and select the printer which you want to set as a default.
- Click Set As Default.
Finally, the printer’s status should change to the default one.
2) Use Control Panel
You can also use the Control Panel to set your printer as the default one.
Here is how you can do so:
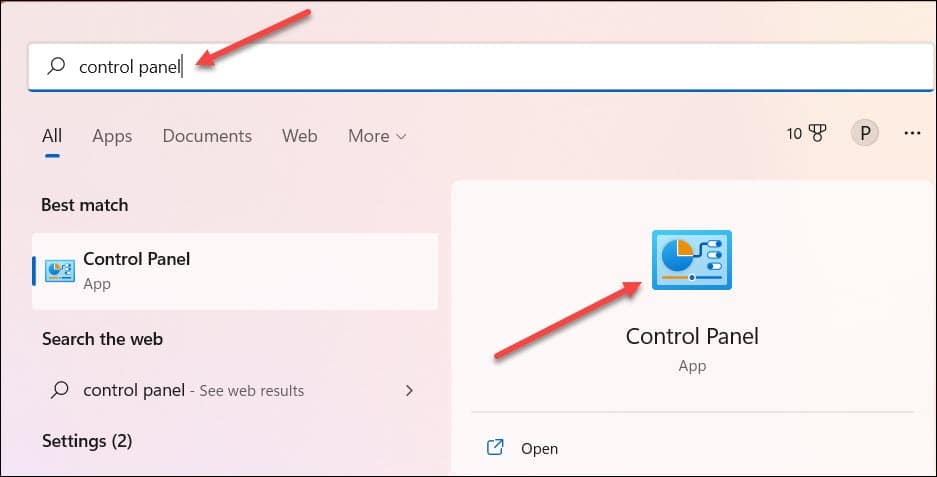
- Type Control Panel in the Windows Search menu and select the top option.
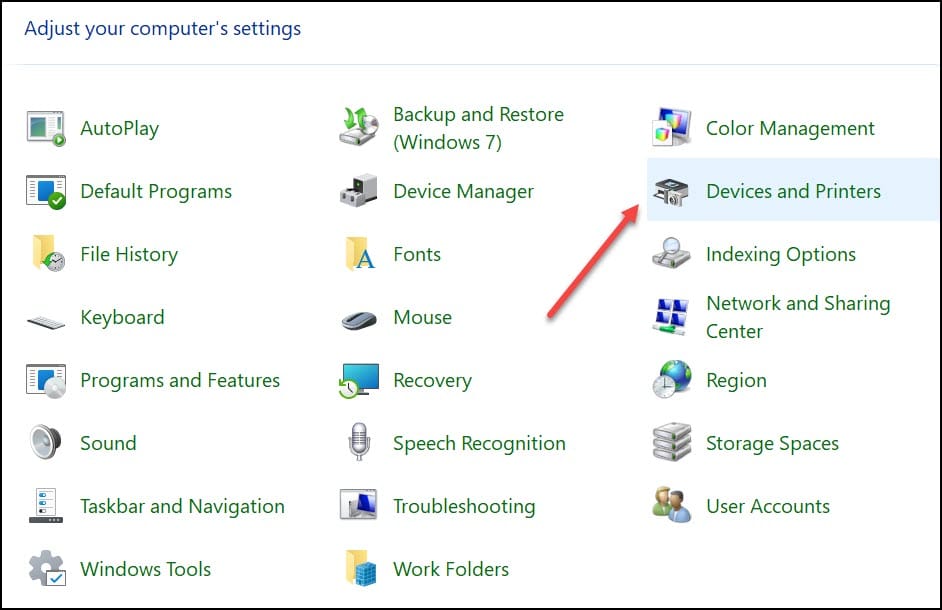
- Click Device and Printers from the list.

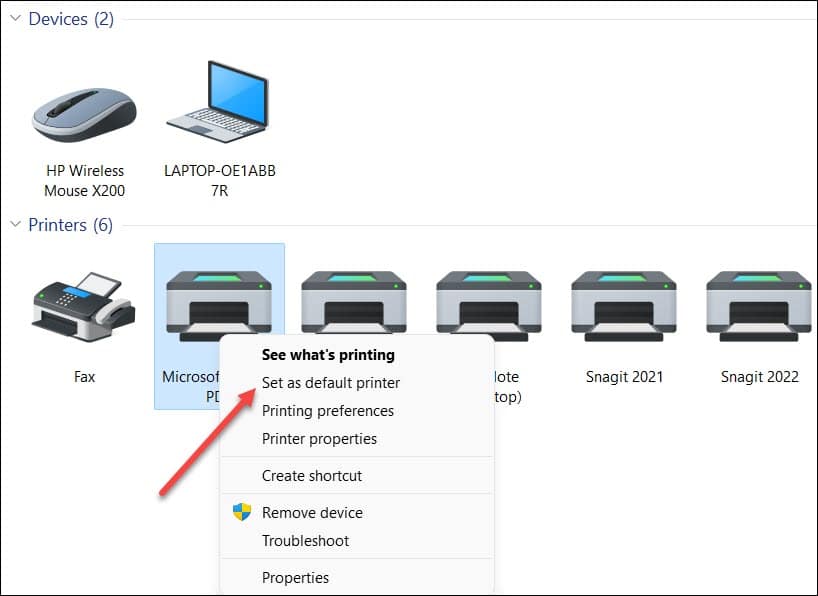
- Select Devices And Printers and right-click on the printer if you want to set it as the default one.
- Choose the Set As Default Printer option, and this should set the preferred printer as the default one.
3) Use Command Prompt
You can easily assign the default printer using Command Prompt.
If you are planning to use this method, make sure you are aware of the full name of your printer as displayed in the system to set it as a default one.
Here is how you can do it:
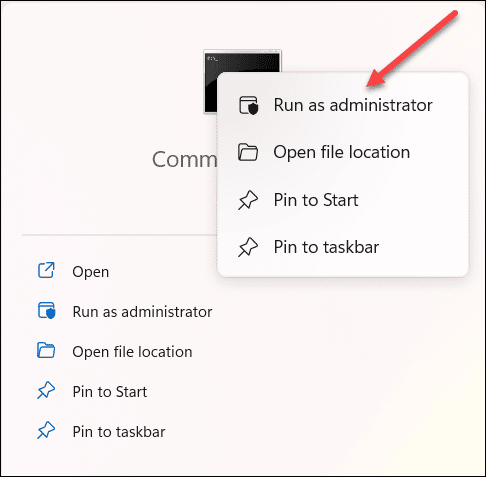
- Search for Command Prompt in the Windows Search bar.
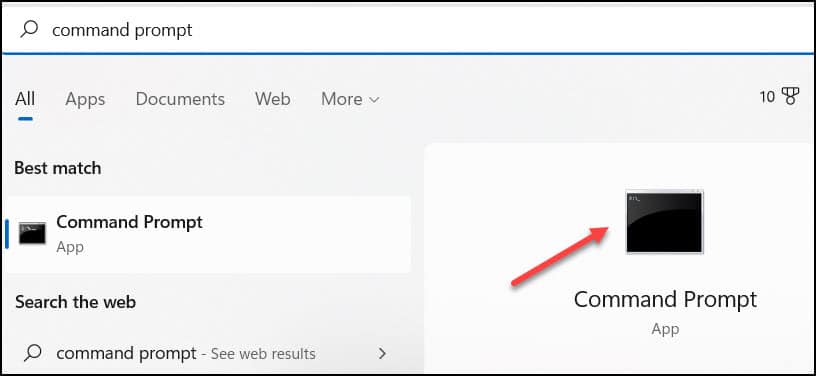
- Next, right-click on the top option and select Run As Administrator.
- Click on the Yes button on the User Account Control window to proceed.
- Next, on the Command Prompt window, type the following command but change the ‘Printer name’ part to the name of your actual printer as shown in the image.
rundll32 printui.dll,PrintUIEntry /y /q /n “Printer name”
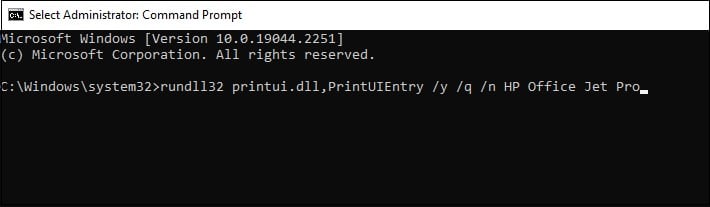
- Press Enter to run the command.
This should set the printer of your choice as the default one.
Frequently Asked Questions (FAQs)
- Can You Set Two Printers As Default?
No, you cannot select two printers as default in Windows 11. While printing, Windows assumes and mark a printer as a default one.
If multiple printers are installed, then setting up one as a default printer will make the process faster and hassle-free. If a default printer isn’t marked, you will have to choose one among them and start the printing process.
Selecting more than one printer as a default, won’t solve your purpose and can cause problems.
- Why Is My Printer Connection Not Working?
If the printer connection is not working, you need to check the wireless connection and make sure that the printer’s wireless option is turned on and available.
If you are using a wired printer, check whether the cable is correctly connected to the printer from your PC.
- Which Ports Are Used To Connect the Printer?
Various Printer ports are used to connect the printers like:
- Parallel Port
- SCSI Port
- USB Port
- What Happens When You Remove A Printer?
If you remove a printer, it will be removed from your device’s list of printers.
If it was the default printer, then Windows will set another previously installed printer as the default one.
You will no longer be able to print with that printer you have removed unless you install it again.
Also read: What Is The Cost Per Page To Print Of Your Printer?
Final Words
After going through this article, you should be able to set up a printer as the default one.
Let us know if you have faced any difficulty performing the steps.
Reach out to us in the comment section below for any doubts or queries.