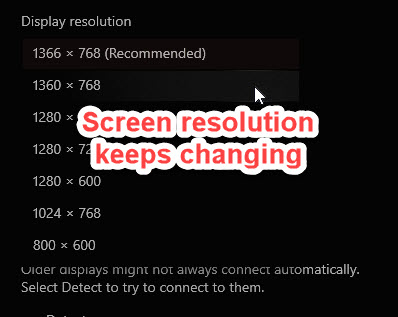
In Windows 10, the screen resolution can be changed from the Settings app, as it does not usually change itself automatically. While updating the device drivers automatically adjusts the display, it usually stays that way without changing itself.
If your screen resolution keeps changing in Windows 10, here I shall discuss how you can solve this error easily.
Why Did My Screen Resolution Suddenly Change?
There can be many different reasons as to why screen resolution changes on its own. The most common reasons include outdated device drivers, incorrectly set Windows options, misbehaving services, malfunctioning hardware components and much more.
Let us take a deeper dive into how you can easily solve this error on your computer.
Screen Resolution Keeps Changing Windows 10 – Easy Fixes
Now that you know why you may be getting this error, let us take a look at some simple solutions that you can use to solve this error.
Solution 1: Update Windows
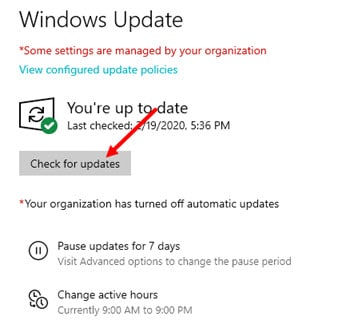
Windows 10 focuses heavily on regular updates to keep the device error free. However, this means that an outdated Windows can be the source of many errors, one likely related to your screen resolution changing itself. If you were postponing some Windows update, now may be the time to update the firmware.
You can check for Windows Updates from Settings > Update & Security section.
Solution 2: Update Display Drivers
Your device drivers are responsible for the hardware devices sending and receiving instructions from your operating system. If your drivers are not the appropriate type, they may cause certain errors associated to malfunctioning devices.
Update the display drivers and check if the error persists. The screen resolution should not change automatically anymore.
Solution 3: Change The Msconfig Settings
Msconfig (better known as System Configuration Utility) is a utility tool designed to help users configure how a computer starts and what programs and services load when Windows starts as well. There is a setting in msconfig that allows to switch back to the base resolution every time you boot into Windows. This may be the reason why screen resolution changes after sleep.
To change this setting, follow these steps:
- Open a Run dialog using Win + R keys.
- Type msconfig and press Enter to launch the System Configuration utility.
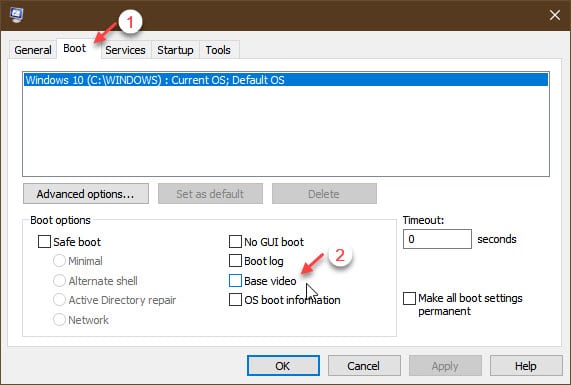
- Switch over to the Boot tab.
- Under the Boot options section, uncheck the box next to the following option:
Base video - Click on Apply followed by OK to save the changes.
- Reboot your PC.
You should see your Windows display stuck to a single resolution once you make this change, therefore solving your error.
Solution 4: Run The Hardware Troubleshooter
If changing the base video option did not help you, there may be something wrong with the device hardware that is causing such errors. Luckily, you can use the hardware troubleshooter to check and solve such hardware related errors.
Follow these steps for the same:
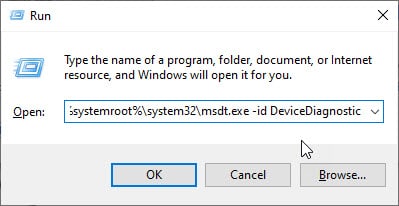
- Open a Run dialog.
- Type the following command in the Run dialog and press Enter to launch the hardware troubleshooter:
%systemroot%\system32\msdt.exe -id DeviceDiagnostic - Follow the on-screen instructions to identify and solve the error on your device.
Wait for the troubleshooter to find and solve any errors related to malfunctioning hardware.
Solution 5: Turn Off Screen Saver
When set incorrectly, the screensaver does not allow the sleep settings from being implemented correctly, therefore leading to many errors like display configuation misbehaving.
Check out the following steps to check and reduce the screensaver settings:
- Use the keyboard shortcut Win + I to Open the Windows Settings app and select Personalization.
- From the left pane menu, go to Lock screen.
- In the right pane, simply click on the option that says Screen saver settings.
- This should open the Screen Saver Settings.
- Here, you should find some misconfigured setting that may lead to errors on your computer.
If you do not find any errs, consider turning off the screensaver and checking if the error persists.
Solution 6: Clean Boot Windows
If some malfunctioning Windows component is causing this error on your computer, you can diagnose that by simply performing a clean boot. In clean boot, only the essential components are loaded, which should give a fair idea about what is malfunctioning on your PC.
To perform a clean boot, follow these steps:
- Open a Run dialog box as mentioned above.
- Type msconfig and press Enter to launch the System Configuration utility.
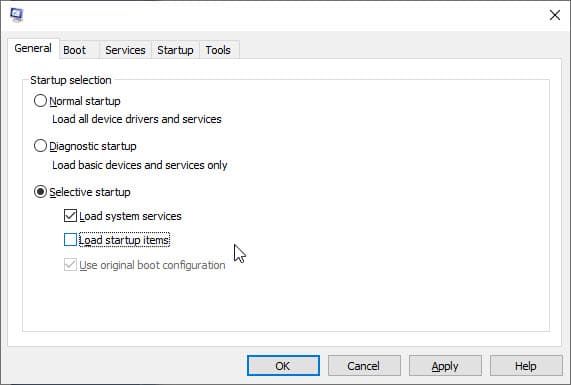
- Under the General tab, click the radio button next to Selective Startup.
- Clear the Load Startup Items check box, and ensure that Load System Services and Use Original boot configuration are checked.
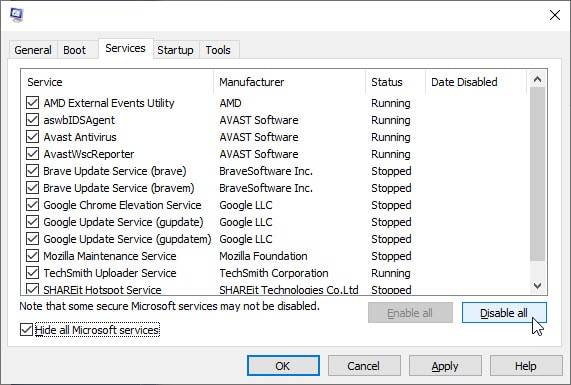
- Next, go to the Services tab.
- Select the Hide All Microsoft Services checkbox.
- Now click Disable all.
- Click on OK and restart the computer.
Upon a clean boot, check if the screen resolution keeps changing in Windows 10. If it does not, there is some component that you disabled which was causing the error on your PC. Once you pinpoint what is leading to the error, you can simply repair or uninstall the app. Your error should now be resolved.
Solution 7: Run DISM And SFC Scans
If the solutions provided above failed to help you solve the error, there may be some broken system component that is causing Windows to malfunction. Fortunately, you can use the DISM and SFC tools to scan and repair broken Windows files.
Run the DISM and SFC scans on your computer. Wait for the scans to finish, and check if the error persists.
Solution 8: Perform A System Restore
If running the DISM and SFC scans also did not help you, you may have to perform a system restore to take your PC back to the state where it was performing error-free.
If you did not have any previously saved system restore points, you need to reset your PC to factory settings. To do so, follow these steps:
- Backup your files.
- Click on the Update & Security section in the Settings app as mentioned above.
- From the left pane, select Recovery.
- Click on the Get started button under Reset this PC.
Wrapping Up
So there you have it. Now you know how to solve if the screen resolution keeps changing in Windows 10. Comment below if you found this useful, and to discuss further the same.
The changing of the resolution is basically Windows update 10 choosing a resolution on update which causes the resolution time out to become active. On my computer, the resolution that is being timed out is fine but still transitions to a black screen after the timer counts down. I have a tiny strawberry computer on a switch that allows me to change from one computer to another (Strawberry to Windows 10) It also seems to reset the timeout and give me another 30 seconds to change my resolution. Otherwise this would drive me nuts. It is definitely caused by windows 10 update because it only happens after an update and once I have changed my resolution with settings it doesn’t occur again until the next update. Windows update is changing the resolution purposely and with every update.