With the rise of streaming services, videos have started taking over space previously occupied by blogs. Never-ending content means you always have something to watch, like movies, TV shows, educational videos, or tutorials, among much more.
With the meteoric rise of video content, the need to record the videos have also risen. Here, I shall discuss how to screen record on Windows, Mac, and smartphones easily.
How To Screen Record On Windows?
As the internet becomes cheaper day by day, HD video content has become abundant. Video recording has become a must for many users, be it teachers, gamers, content creators, etc. Windows 10 has its share of screen recorders, with the most basic one built into the operating system.
Also read: Best Live Streaming software
Method 1: Windows Game Bar
Windows Game Bar has been included within Windows 10 as a way of recording the games that you play on your Windows 10 computer. The game bar is a part of the Microsoft Xbox application and allows you to record gameplay, take screenshots, and quickly monitor the PC statistics while gaming.
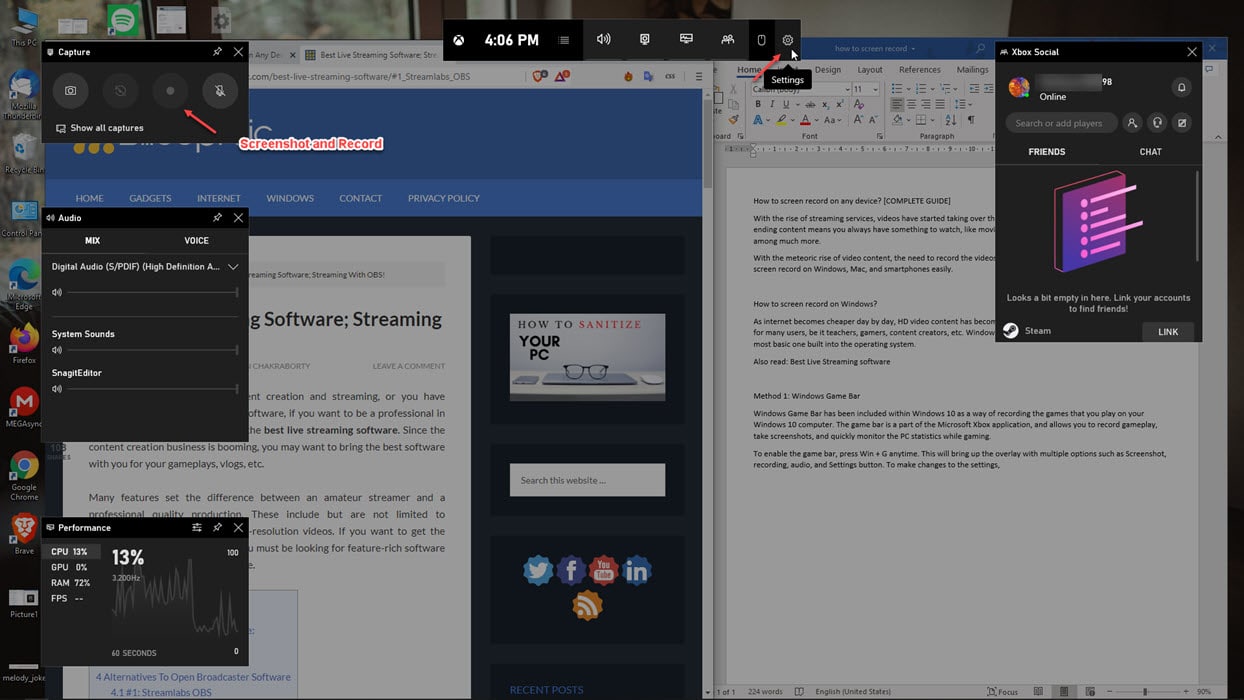
To enable the game bar, press Win + G anytime. This will bring up the overlay with multiple options such as Screenshot, recording, audio, and Settings button. To make changes to the Microsoft Game bar, click on the Settings icon in the top overlay. Click on the Record button to begin screen recording.
Also read: Where are screenshots stored in Windows 10
Note: Microsoft Game Bar does not work on low specced devices, so you will have to use other screen recording software for the same. You will also be asked if the video is a game or not in case the application is not recognized as a game.
Method 2: Open Broadcaster Software (OBS)
The open-sourced OBS might be one of the best screen recorders for Windows 10 users. The free and open-source application is used by many professional gamers to record and live stream their gameplay to streaming platforms of their choice.
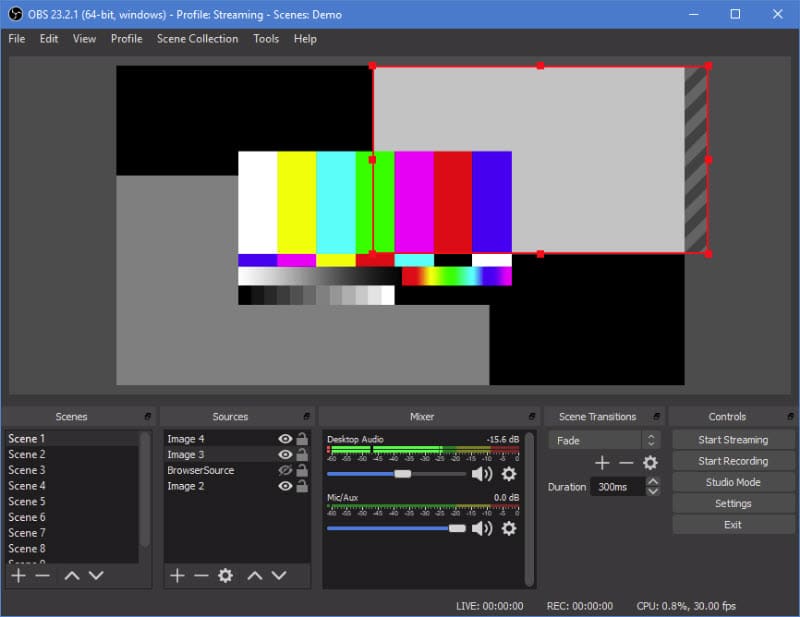
OBS has a bit of a learning curve attached to it, and you will spend some time learning how to use it. However, the sheer amount of control you get is worthy of the effort. Apart from screen recording, OBS can be set up to directly stream to many platforms like Twitch, Mixer, Facebook, YouTube, etc.
If you find OBS a bit too difficult, you can check out Streamlabs OBS, which has a simpler user interface and many preinstalled plugins.
Method 3: TechSmith Snagit
TechSmith SnagIt is a premium screen recording software which can be used to capture screenshots and record the screen as well. Although it is a premium software, it contains many features that are essential for general users, such as internal audio recording, built-in photo editor and converter, and much more.
One of my favorite features is a partial screen recorder, where you can select a part of the screen to be recorded instead of the entire screen. This allows for much finer control over what you want to record, and you can set to record only one application as well. Once the recording is complete, you can save the recording as MP4, or convert the recording to gif instead.
How To Screen Record On MacOS?
macOS users do not have to look far in search of a screen recorder, as they have one built into their devices. That’s right, the default video player QuickTime Player has many additional features including an audio and video recorder. This video player doubles up as a fantastic basic screen recorder, and maybe all you need as well. Simply press ^ + Command (⌘) + N to begin a new screen recording.

However, you can also check out some professional screen capturing software if you need added benefits. TechSmith SnagIt is one such software that you can buy from their official website.
You can also check out ScreenFlow. Similar to SnagIt, ScreenFlow is also a feature-packed premium screen recording software. It also contains a built-in photo and video editor, along with advanced recording and sharing features. You can also use your camera to record yourself along with the screen.
How To Screen Record On Smartphones?
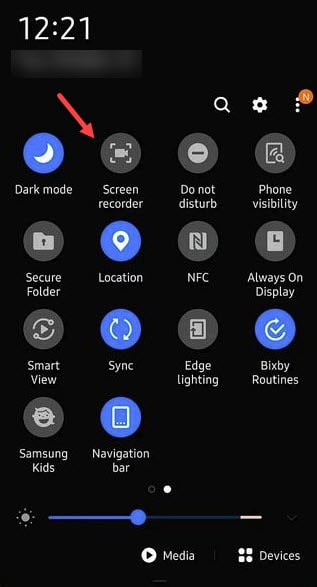
Many higher-end smartphones these days come with the native screen recorder built into the software skins, and even budget smartphones have started incorporating this feature. The official stock Android operating system finally introduced a native recorder with Android 11 beta, and may soon make its way into the stable version upon release.
Many Android software skins have included the screen recorder on top, such as the ones you will find in MIUI, Realme OS, Color OS, Samsung’s OneUI, etc.
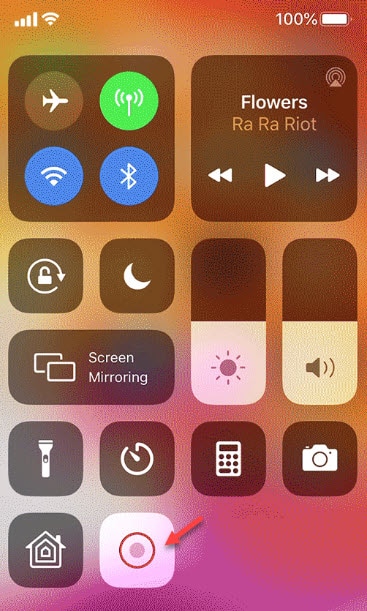
iOS users have had this feature from back in 2017 when this was introduced with iOS 11. You can record your screen with internal audio, allowing you to record your gameplay sessions as well.
If you are not satisfied with the built-in recorders in iOS and Android, check Go Recorder, and Mobizen, which allow you to record your mobile screens.
Wrapping Up
So, there you have it. Now you know how to screen record on any device using the methods provided above. Comment below if you found this useful, and leave your favorite screen recorder suggestions as well.