If you happen to have an image that is not in the desired orientation, most Windows 10 users word open the traditional photo editor to rotate a picture on the computer. However now in Windows 10, you can rotate an image right from File Explorer without even opening the photo.
Let us take a look at how to flip a picture in Windows 10 quickly.
Windows Rotate Image Methods
New versions of Windows 10, you can directly rotate a picture on computer use using the photo managing tools baked into the File Explorer app. This makes it easier to adjust orientation without having to open the image in a photo editor or the Photos app.
Here are the methods that you can use do rotate an image on Windows 10.
Method 1: Use Picture Tools
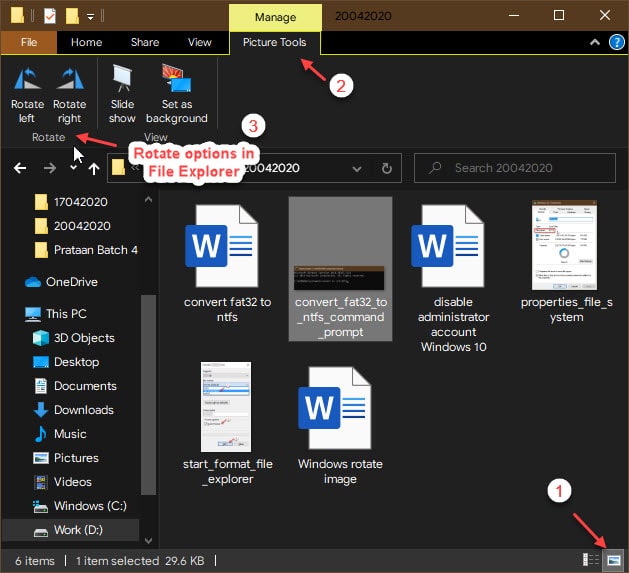
The ribbon menu in file explorer gets an additional menu depending on the type of content you select in a folder. If you have set thumbnails on, you can use the Picture Tools from the ribbon menu to make modifications quickly to the image.
Here are steps to access the menu:
- Click on the small icon in the bottom leftmost corner to switch the view to thumbnails.
- Next, click once on the image that you wish to alter.
- You will see the Picture Tools options added to the ribbon menu. Click on this tab.
- Here, you will find the quick shortcuts to rotate the image left or right, along with options to view the slideshow or set the image as background.
You can also access these menus using the keyboard. To access the menus by pressing the Alt key. Press the Alt key and then follow pressing the letters that show up.
Method 2: Use The Right Click Context Menu
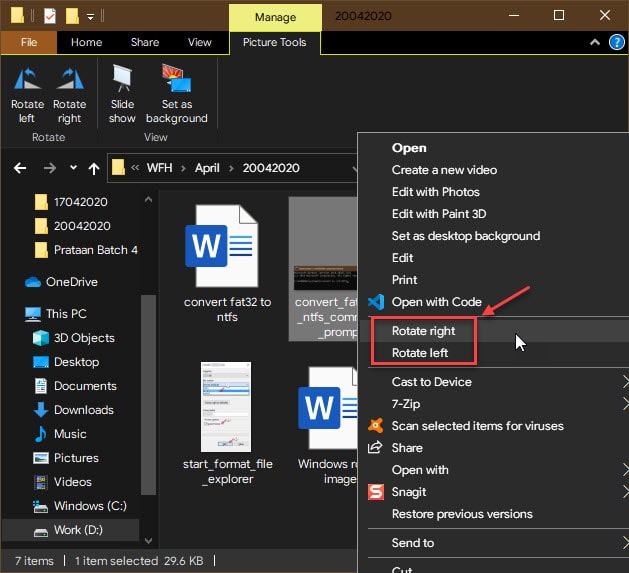
Microsoft went a step further and added the editing options to the right-click context menu in the File Explorer. You can also use these to rotate the image on your computer. Simply select the image and right-click on it to reveal the additional menu, and select Rotate right or Rotate left depending on your preference.
Method 3: Use the Photos App
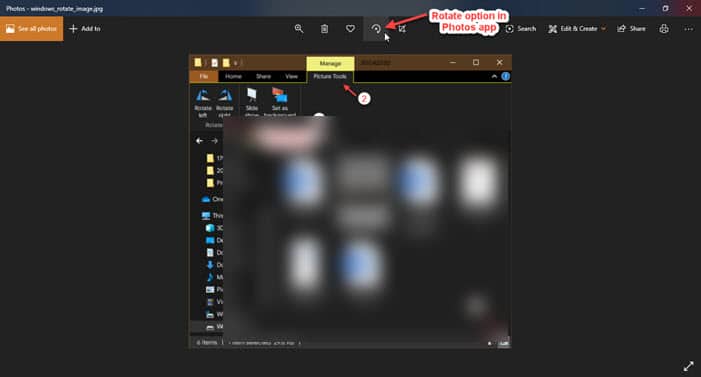
The built-in photos app is the default photo viewer in Windows 10. The Photos app also comes with basic editing options like rotate and crop. You will find the options on the top of the image. You can also use the shortcut Ctrl + R to rotate the photo.
Wrapping Up
So, there you have it. Now you know how to access and use the Windows rotate image options to rotate a picture on a computer. Did you find this useful? Comment below if you did, and to discuss further the same.