A very common issue that we face with windows is the error, “The disk is write-protected. Remove the write- protection or use another disk.” This often happens with flash storages and SD cards. Windows can read what is present on the disk but doesn’t allow copying something onto the disk. This is an annoying problem albeit easy to fix. Here I’ll list 6 methods on how to remove write protection from USB and SD cards.
Methods To Remove Write Protection From USB Drive And SD Cards
Here below we have discussed a few solutions to the above problem. Go ahead and have a check on the same.
# Solution 1 (Storage full)
Sometimes we lose track of how many files we may have stored on flash storage. If the storage is full, the disk becomes write-protected and is very likely to show this error.
You can check if the device is running short on storage using the ‘This PC’ in the file explorer menu.
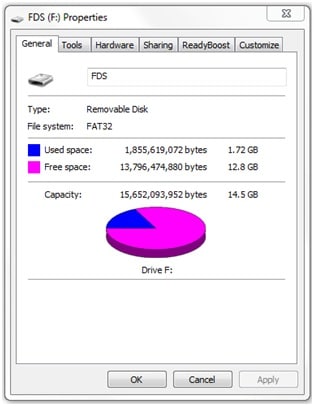
You can also right-click on the drive and select Properties. Here you can see how much free and used disk space your drive has. If the file you are trying to copy is larger in size than the free space available, that may be the reason you were facing this error.
If you have enough free storage but still face this error, try one of the other solutions given below.
# Solution 2 (Physical Lock Protection Switch)
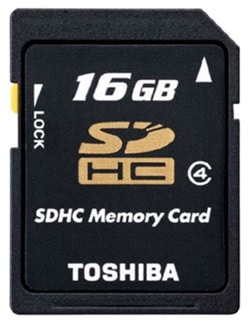
On SD cards and some USB flash drives, there is present a physical switch on the left that can turn off write protection for the respected device.
Locate the switch and ensure that it is set to off. Insert the device back into your PC and confirm that you can write onto the disk.
If you still cannot write on the disk, you may need to follow one of the methods given below.
# Solution 3 (Read-only status)
Sometimes by some Windows error, the external flash storage may be set to read-only status. This may cause the write protection error. Follow these easy steps to remove write protection from USB.
- Open File explorer and locate the drive that is showing the error.
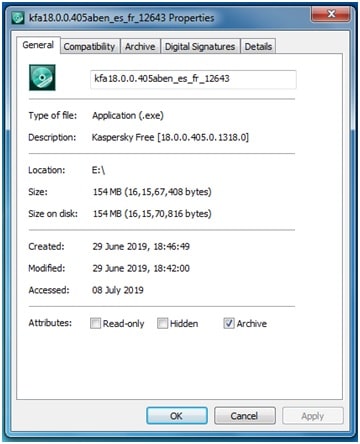
- Right click on the drive and select Properties.
- Under the General tab, locate Attributes.
- Here ensure that the checkbox beside Read-only is unchecked. If this was showing a check mark, uncheck and click on Apply.
Refresh the explorer and the write protection will be removed.
If the problem persists, you may need to follow the next step in order to remove the write protection from USB.
#Solution 4 (Using cmd)
You can use Command Prompt to perform tasks on a write protected flash drive. Here are the steps to use the command prompt.
- Run CMD as an administrator by right clicking on the search query.
- Open the native disk partitioning tool.
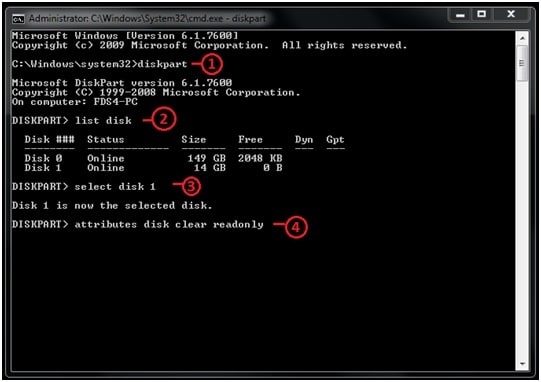
- To do this, type diskpart and press Enter.
- Open the list of all the disks present on your device.
- Type list disk and press enter.
- Select your disk from the list that shows up.
- Type select disk n. n here is the disk number of your USB flash drive or SD card.
- Clear the attributes assigned to your disk.
- Type attributes disk clear readonly.
Try copying files onto the disk again after this. The write-protection now should be removed from your disk.
If the problem still persists after that, you need to follow this next step that uses Registry Editor.
# Solution 5 (Using Registry Editor)
If the issue still persists after using cmd, you can try to use the registry editor to remove the write protection from the disk. Sometimes the write protect may be enabled as a security step. Follow the steps below to find the registry file and modify.
- Open Run by pressing Win + R and type
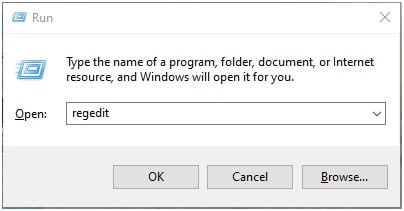
- Copy and paste the following location to your Registry Editor address bar and navigate to the path:
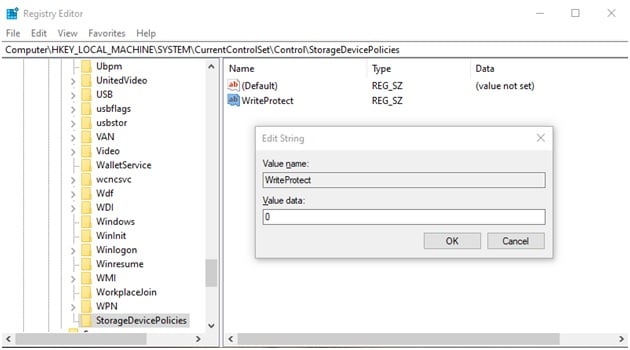
HKEY_LOCAL_MACHINE\SYSTEM\CurrentControlSet\Control\StorageDevicePolicies
- Look for the presence of the key WriteProtect. If it exists, double click it to modify.
- Set the value to 0.
- Restart your device for the changes to take effect.
If the problem still persists after that, you need to follow this next step that uses Group Policy Editor.
# Solution 6 (Using Group Policy Editor)
If you feel uncomfortable making changes to the Registry, and you’re running Windows 10 Pro, Enterprise, or Education, you can alternatively access the Group Policy Editor to make changes to the write permissions that are available to the flash storage devices.
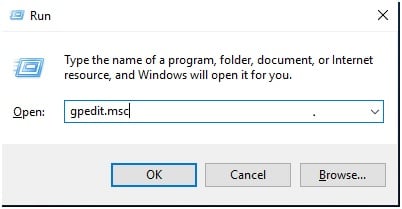
- Open Run by pressing Win + R and type msc
2. Navigate the following path
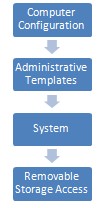
3. On the right panel, double click on Removable Disks: Deny write access
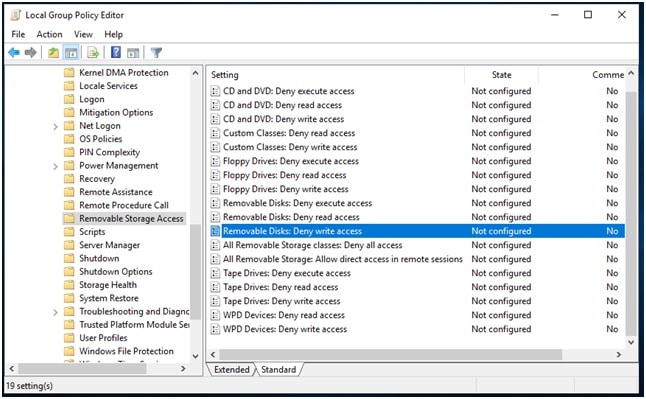
4. Click the radio circle next to Disabled to remove the write protection from USB. Click OK.
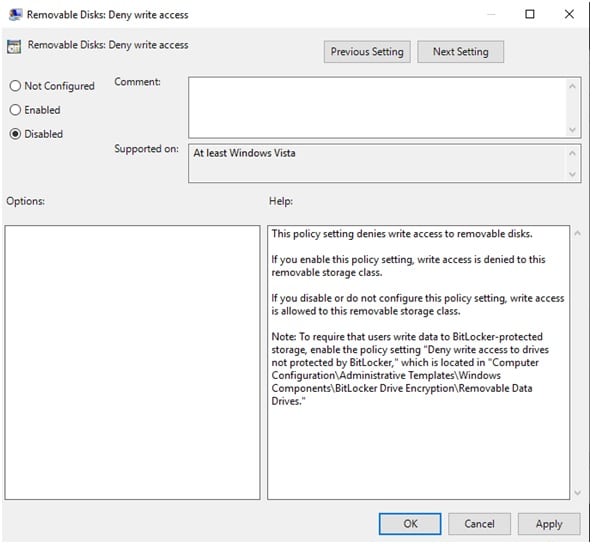
5. Restart your PC to complete the task.
You now should be able to access your USB drive which was write-protected.
If the problem still persists, there may be no other option than to format your USB device. This will also get rid of any potential virus that may be plaguing your device.
Conclusion
So there you have it. Now you know how to remove write protection from USB and SD card. Did you find these methods useful? Comment below if you used any of these methods to access your write protected Flash Storage.
i have tried solution 4 like 10 times but it aint working
Is there a physical write protection switch on your device that is preventing this solution? the command prompt method may not work for you if there is a physical switch on your device (check solution 2)
Another reason is if you do not have the appropriate administrative privileges on your PC. you can check out this post where we have discussed this particular error. Check solution 3, and execute the diskpart from the admin account.