With every new Windows update, there comes a host of new errors that can hamper the user experience of the devices. This happens mostly due to the incompatibility between the update files, and the existing software. Some users have recently reported an issue where they get the following error message:
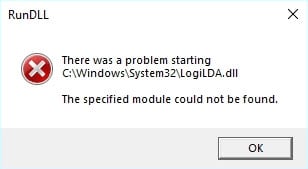
‘There was a problem starting C:\windows\system32\logilda.dll
The specified module could not be found.’
How To Solve Logilda.Dll Error?
Users have reported that they usually get this error after upgrading their Windows 10 version or installing a Feature upgrade. The logilda.dll error occurs due to incompatible Logitech software i.e., the Logitech Download Assistant. This software is installed to manage the Logitech software that comes alongside the Logitech Mice.
Solution 1: Reinstall Logitech Drivers
The Logitech Download Assistant is responsible for maintaining and updating the drivers. A simple solution to this problem would be to reinstall the drivers manually that the Download Assistant manages. To do so, follow these steps:
- Open a Run dialog by pressing Win + R.
- Type devmgmt.msc and press Enter to launch the Device Manager console.
- Locate and click on the small arrow next to Mice and other pointing devices to expand this section.
- Under the list of available devices, locate your Logitech mouse and right-click on it.
- Select Uninstall from the right-click context menu. You should receive a confirmation dialog box.
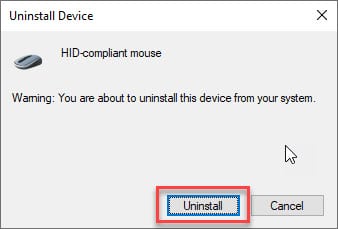
- In this uninstallation window, if present, check the box next to Delete the driver software for this device.
- Follow the on-screen instructions to complete uninstalling the corrupted drivers.
- Next, visit Logitech’s website and download the latest drivers for your device.
Now check if the error persists. This should solve the logilda.dll file missing error on your Windows 10 device.
Solution 2: Edit Registry To Delete LDA Key
A more permanent solution is to remove the Logitech Download Assistant key from the Registry. The Registry is used to store much of the information and settings for software and hardware installed on your device, along with the user preferences, operating system configurations and many such settings.
To remove the LDA key and solve logilda.dll module not found error, follow these steps:
- Open the task manager. You can use the keyboard shortcut Ctrl + Shift + Esc.
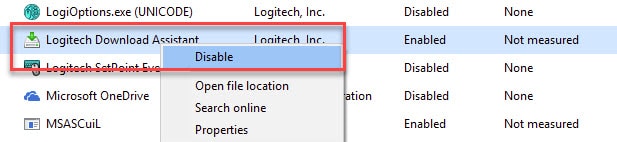
- Under the Startup tab, locate the LogiDA process.
- Right-click on this entry and select Disable from the context menu.
- Next, open a Run dialog by pressing Win + R.
- Type regedit and press Enter to launch the Registry Editor. Click on Yes in the user account control settings.
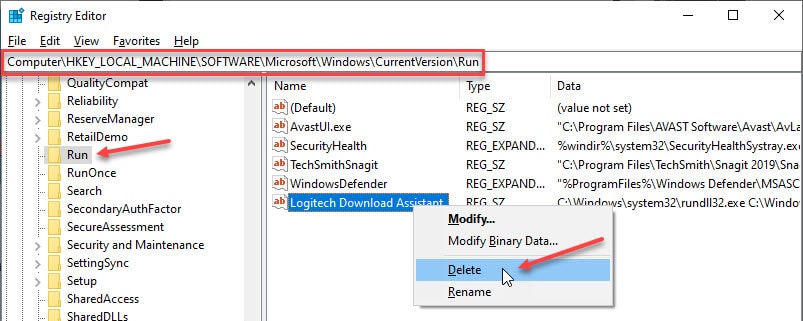
- Navigate to the following location by pasting the path in the address bar of the Registry Editor:
Computer\HKEY_LOCAL_MACHINE\SOFTWARE\Microsoft\Windows\CurrentVersion\Run - In the right pane here, locate and right-click on Logitech Download Assistant entry.
- Select Delete from the right-click context menu.
- Restart your system.
The logilda.dll cannot be found error should now be resolved on your system.
Note: Alternatively, if you do not have the OS drive assigned to the letter C, check the value associated with Logitech Download Assistant entry, and then change it to the appropriate installation folder.
Solution 3: Uninstall Logitech SetPoint Software
Some users have said that they got this error after they updated or installed the Logitech SetPoint software. If you started seeing this error message after the installation of this software, you might want to uninstall the SetPoint software from your Windows 10 device.
You can uninstall SetPoint from the control panel (type appwiz.cpl in a Run dialog), or you can use third party batch uninstallers like IObit. Remember to remove the residual files as well.
Wrapping Up
So there you have it. Now you know how to solve the ‘there was a problem starting logilda.dll’ error using the simple solutions provided above. Comment below if you found this useful, and tell us which solution helped you solve the error on your device.