When Windows Defender was first introduced, it was designed as an anti-malware security app. Recently, Windows has integrated many features into it, and users find it convenient with the unified protective and performance-monitoring features within one app.
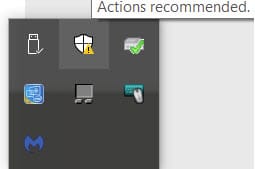
However, it is still a work in progress, as based on many reports; users face numerous bugs, one of which includes Windows 10 actions recommended notification wouldn’t go away. Here I shall how you can solve the persistent Windows defender actions recommended notifications with a few simple methods.
How To Solve Windows Defender Actions Recommended Prompts?
If you are one of the users who see Windows Defender Action Needed message with an exclamation mark in a yellow triangle that won’t go away even when you have no virus on your device, try any one of the solutions mentioned here in the order they are provided.
Solution 1: Check If Any Notification Left Unchecked
Sometimes in a hurry, we forget to clear all the notifications. Combine that with the depth of options provided by the Windows Defender application, there is a chance that some notification may have gone unnoticed by you in your day-to-day work.
There are also many options hidden under other options, which can make your notifications go unnoticed. To eliminate that this is the case, start by scanning the app thoroughly for any missed notification.
Solution 2: Dismiss Ransomware
OneDrive integration is an annoying feature that causes these persistent notifications. Windows Defenders runs a Ransomware protection feature, which is used to back up your files to OneDrive. You need to add an exception manually to the Virus & threat protection.
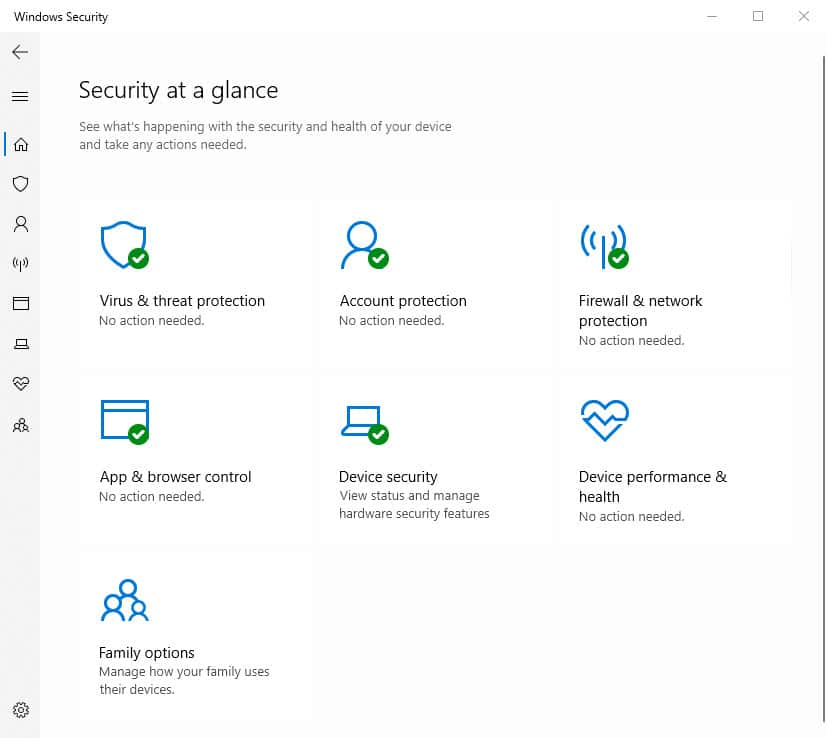
- Double click on the notification tray icon to launch the Windows Defender Security Center.
- Go to the “Virus & threat protection”
- Here, click on Windows Defender Antivirus.
- Set the toggle next to Periodic Scanning to on.
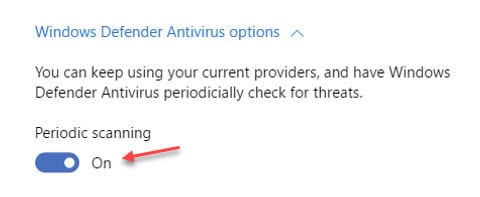
- Close and restart the window
- Go to the “Virus and threat protection” tab again.
- Click on “Windows Defender Advanced options“
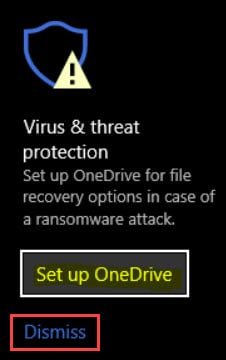
- Scroll down to “Ransomware protection“.
- Here, you will see a notification saying that you need to set up OneDrive for file recovery option in case of a Ransomware attack. Click on the button that says ‘Ignore in future’.
- Make sure the rest of the rules are a pass in this section.
This is one of the main causes that people faced the ‘Windows defender security center actions recommended’ error. Now, this should solve your problem.
However, for some reason if this fails to solve your issue and Security Center Windows 10 notification won’t go away, here are some other simple solutions that you can try in order to solve this error.
Solution 3: Disable And Re-Enable Notifications For Windows Defender
Another temporary solution is to toggle the notifications for Windows Defender Security Center in the Settings app. Microsoft has already acknowledged that this is a bug in Windows, so these temporary solutions may end up being beneficial to you.
To disable and re-enable the notifications for the Security center, follow these steps:
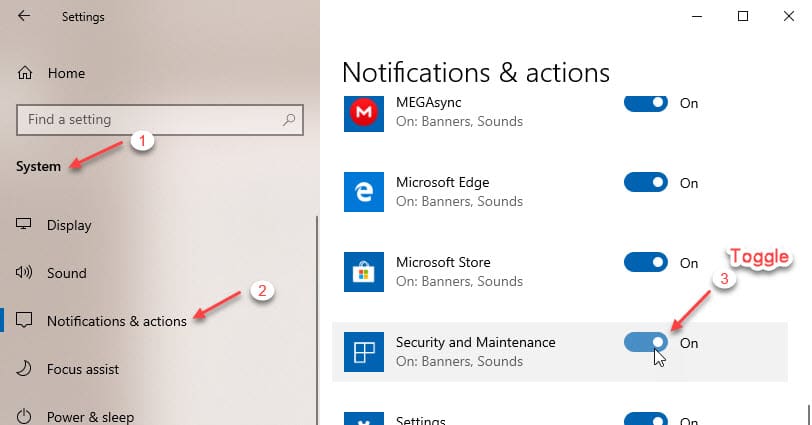
- Open the Settings You can use the keyboard shortcut Win + I.
- Click on System.
- From the left pane, open Notifications & actions.
- Scroll down until you reach Security and Maintenance.
- Toggle this option towards off.
- Restart your PC.
- Navigate to Settings again and re-enable notifications for Security and Maintenance.
Although this is a temporary fix, many users have reported that this solved the Windows 10 actions recommended error on their devices.
Solution 4: Restart Windows Explorer
This is a simple workaround that may help you overcome this issue. If you face this issue, follow the steps to restart explorer.exe:
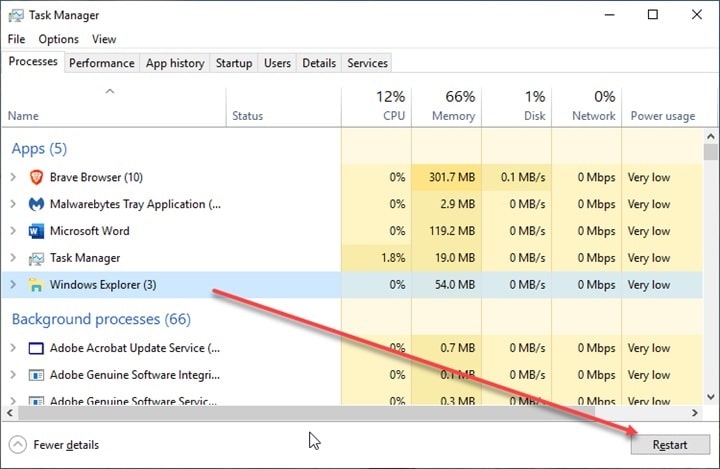
- Open Task Manager. Press Win + X to open the Windows menu and select Task Manager.
- In the Processes tab, navigate to Windows Explorer (explorer.exe) in the list of running processes.
- Right-click on it and click on End task.
- Go to File. Select Run new task.
- In the Run window that opens, type explorer.exe and press Enter.
This will restart Windows Explorer. This is done to clear any outdated cache, or locked up memory, which may be causing the taskbar notifications to repeat even though there is no notification.
Solution 5: Clear Tray Notification Cache
The taskbar notification icons have a cache library, from where the icons are pulled instead of going to the installation folder each time you get a notification. This cache, if locked up, can show errored notifications, thereby causing the Windows defender actions needed notifications.
- Open a Run window by pressing Win + R.
- Type regedit and press Enter to launch the Registry Editor. Click on Yes in the User Account Control prompt.
- Click on File > Export to create a backup of your registry.
- Now, navigate to the following location by pasting the following path in the address bar of the Registry Editor:
Computer\HKEY_CURRENT_USER\Software\Classes\Local Settings\Software\Microsoft\Windows\CurrentVersion\TrayNotify - From the right pane, delete the ‘Icon Streams’ and ‘Past Icon Streams’ values.
![]()
- Restart your computer once that is done.
This should form the tray icon libraries again, thereby solving your error. If you see any error, you can restore the registry to take it back to where it originally was.
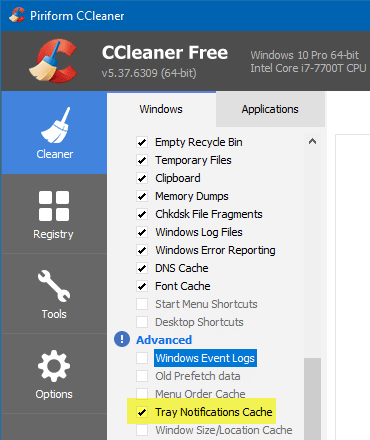
If you do not wish to mess with Registry, you can use a free third party junk cleaner, like CCleaner.
Wrapping Up
Ever since the performance monitoring features were added within the Windows Security Center, the app feels complete with all the features within one single menu. Most of the users really like the fact that they do not have to search for different features here and there. However, if you too were facing the Windows defender actions recommended notifications wouldn’t go away error, now you know how to troubleshoot them using the solutions provided above. Do tell us in the comments if this helped you solve your error, or if you know some other method to solve this.