There are various uses of laptop cameras, but most users use it for communication via various video chatting applications.
If your Laptop camera is not working or launching properly, then don’t worry as it might not always be a hardware issue.
When your laptop camera is not working, go through this article to find out the reasons and solutions for it.
Also read: Canon Camera Won’t Connect To Computer!
Why My Laptop Camera Is Not Working?
Your laptop camera not working can happen due to several causes. The most likely ones are–
- Mostly, outdated webcam driver can trigger this kind of malfunctioning issue.
- Wrong settings or limited camera permission settings can prevent it from working.
- This problem is also seen when the camera permission is blocked by the antivirus.
How To Fix Laptop Camera Not Working On Windows 10?
Now stop worrying about computer camera not working issue, and go through the solution below to resolve the issue.
Solution 1: Enable The Camera Permission
If you have disabled the camera permission accidentally, then this can trigger this issue.
To turn on the camera permissions, you have to follow the steps given below:
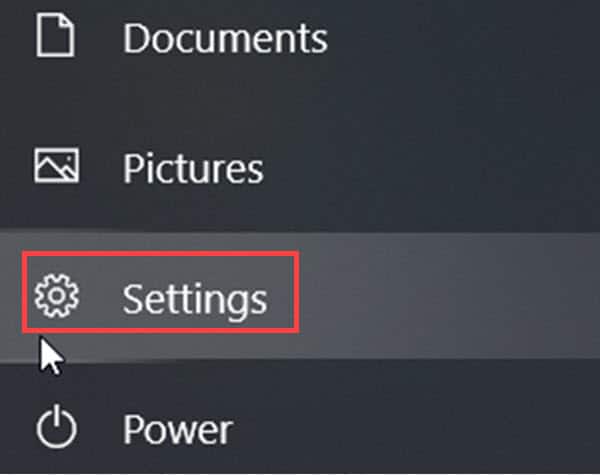
- Click on the Windows Start button and then select the gear icon to open the Settings.
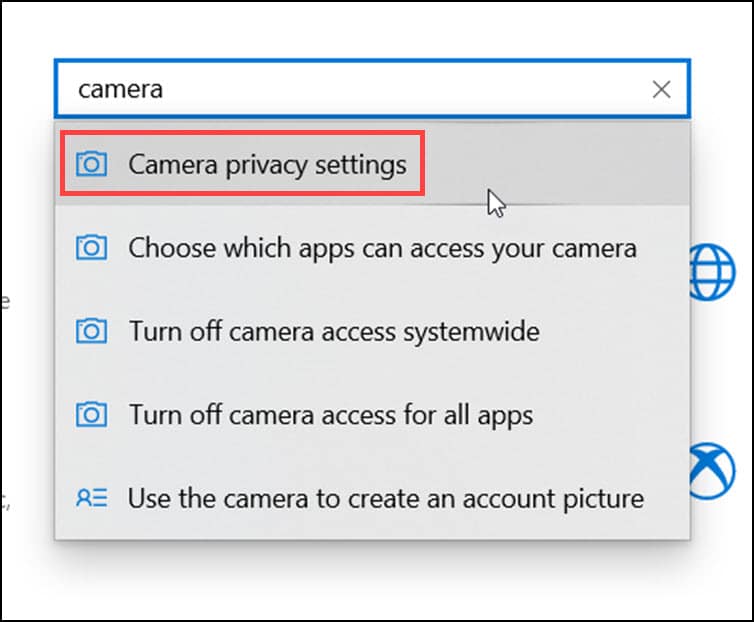
- Type Camera in the dialogue box.
- Choose Camera privacy settings.
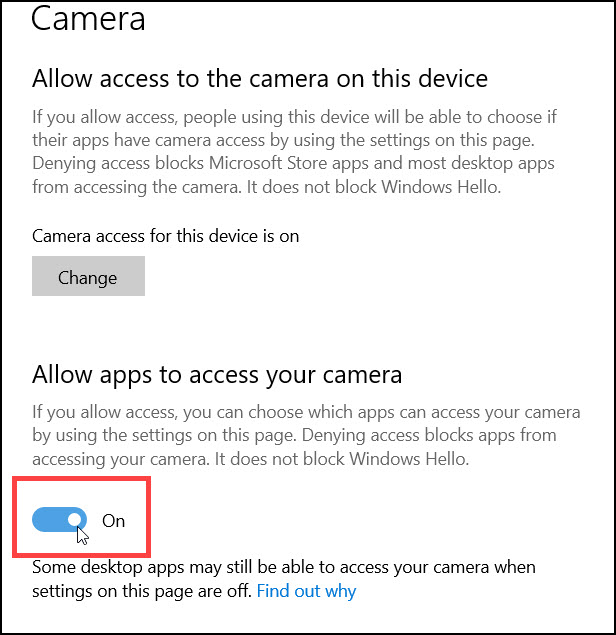
- Enable Allow apps to access your camera toggle to give access to your camera.
Solution 2: Update Laptop Camera Driver
An outdated driver can also cause these kinds of issues.
So, update the camera driver when your laptop camera is not working.
To do that, follow the steps:
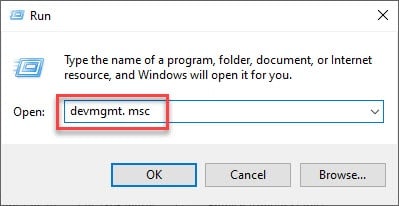
- Press Windows key + R hotkeys from the keyboard.
- Type devmgmt.msc on the dialog box.
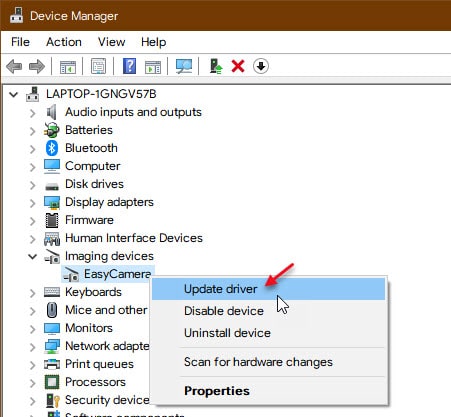
- After opening the Device Manager, expand your Camera option.
- Right-click on it and select the Update driver option.
- Select Search automatically for drivers option.
- Follow the instructions to complete the update and restart your computer.
If still your computer camera is not working after this, then go to the next solution.
Solution 3: Re-Install The Camera Drivers
If the above mention solution doesn’t work for you, then re-install your camera drivers to resolve the issue.
Follow the steps to do so:
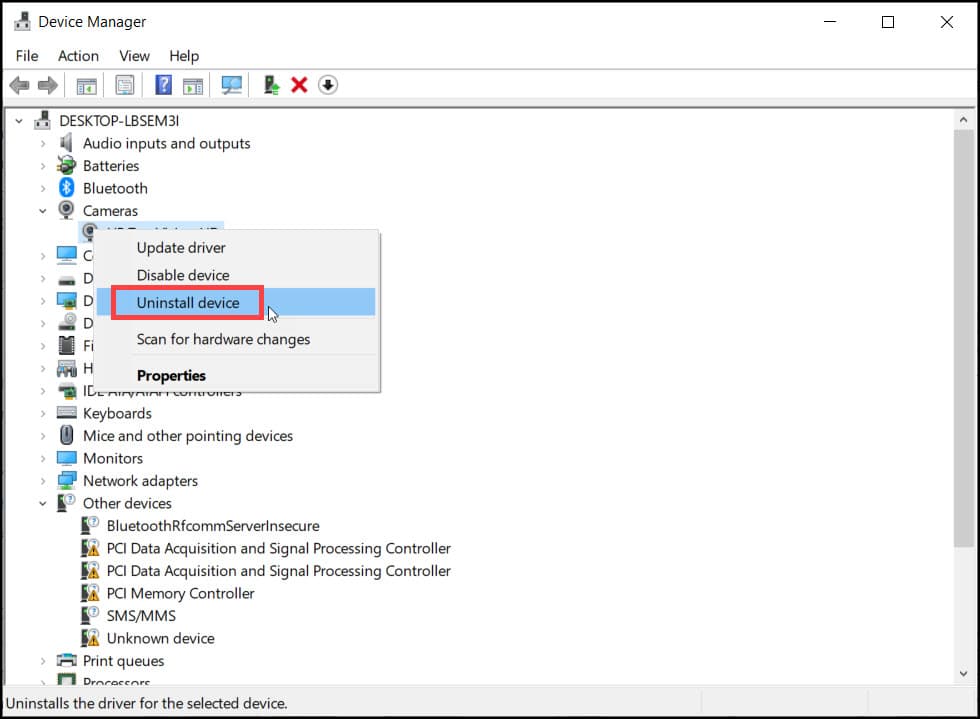
- Press Windows + X key simultaneously and click on Device Manager.
- Expand Camera option. Right-click on the camera driver and select Uninstall device option.
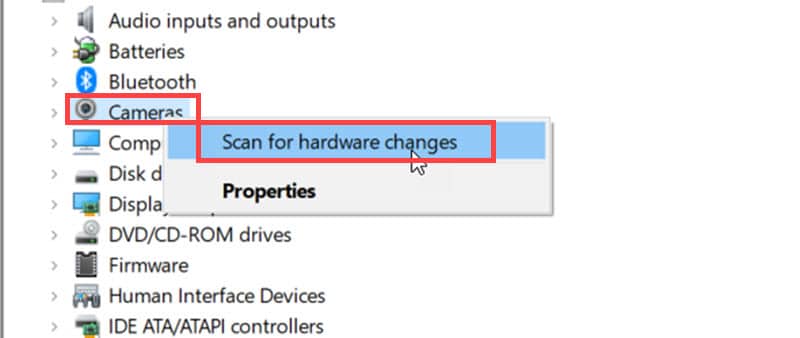
- Restart your computer. After that, open Device Manager again.
- Select Cameras and then click on the Action Tab.
- Choose the Scan for hardware changes option. It will automatically update the driver.
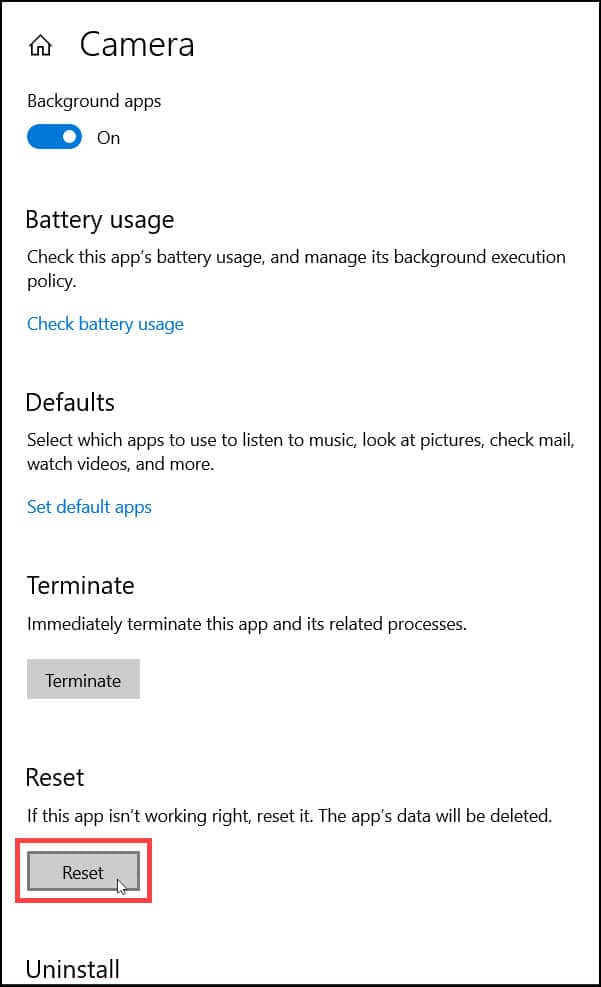
Solution 4: Reset Your Camera
If the above steps did not solve the problem, then reset your camera.
- Press the Windows key and type Camera.
- Select App settings from the right panel option.
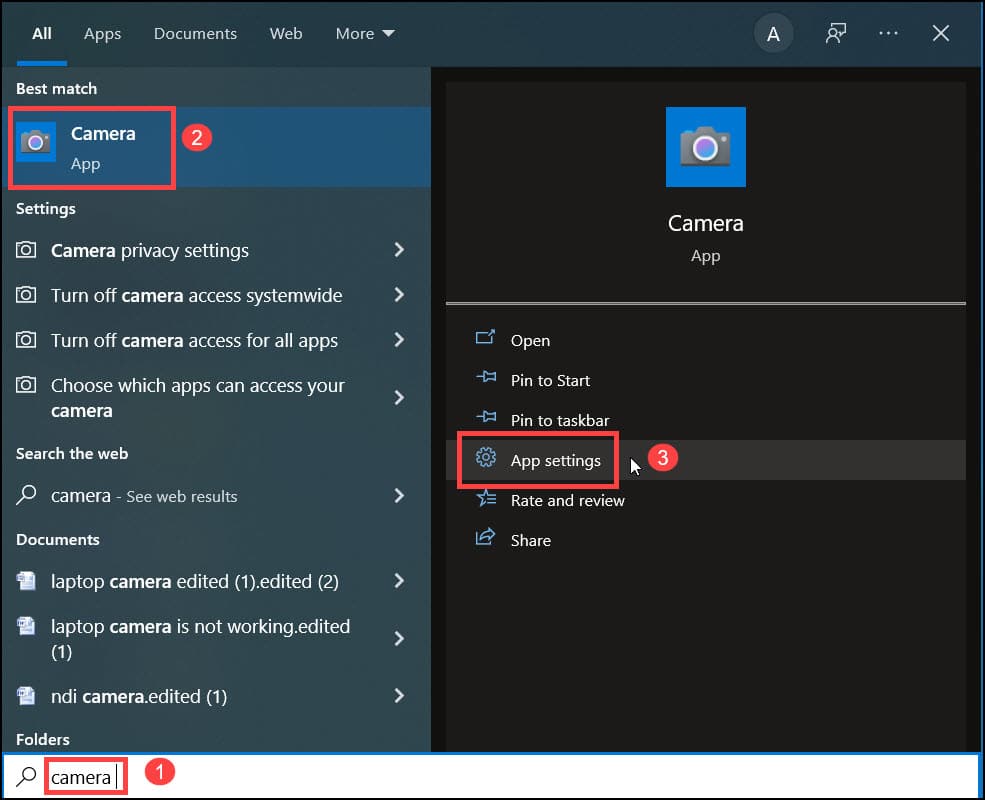
- From the next page, click on the Reset option.
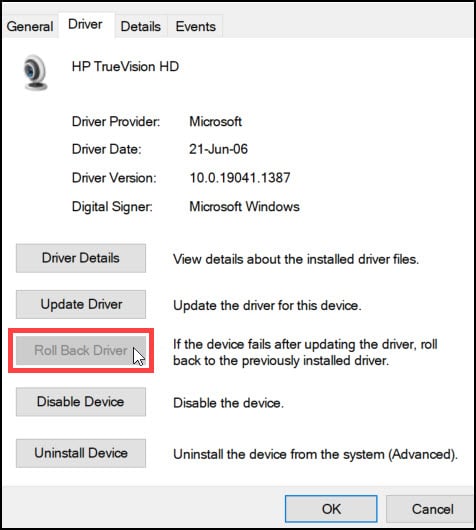
Solution 5: Rollback The Drivers
The rollback driver feature is used to uninstall the last update.
If you have recently updated the driver and the issue started just after the update, then rolling back the drivers can solve the issue.
To do that follows the steps below:
- Open Device manager and from the cameras section, select your webcam.
- Right-click on it and expand its Properties.

- Click on the driver tab and select the Rollback driver option. Confirm your action by clicking on the OK button.
Once the process is completed, restart your laptop and re-launch the camera.
Solution 6: Disable Camera From Antivirus
The antivirus protects your PC from viruses and malware. But sometimes it can get overprotective and falsely detect some of your applications and services to be a threat.
If the antivirus thinks that the camera is being used for malicious reasons, then it block its access.
In this case, you will have to disable the firewall to get rid of this kind of problem.
Caution: In this situation, don’t download any kind of 3rd party application or visit any unprotected websites to welcome any unnecessary trouble.
To disable Windows Security, follow these steps:
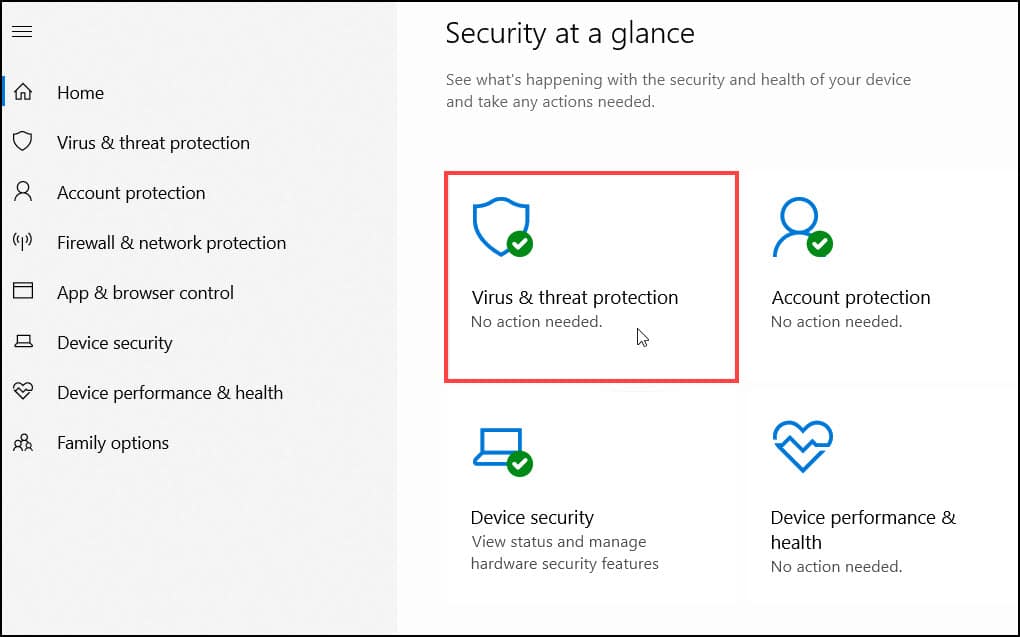
- Type Windows Security in the Windows search bar and select the appropriate option.
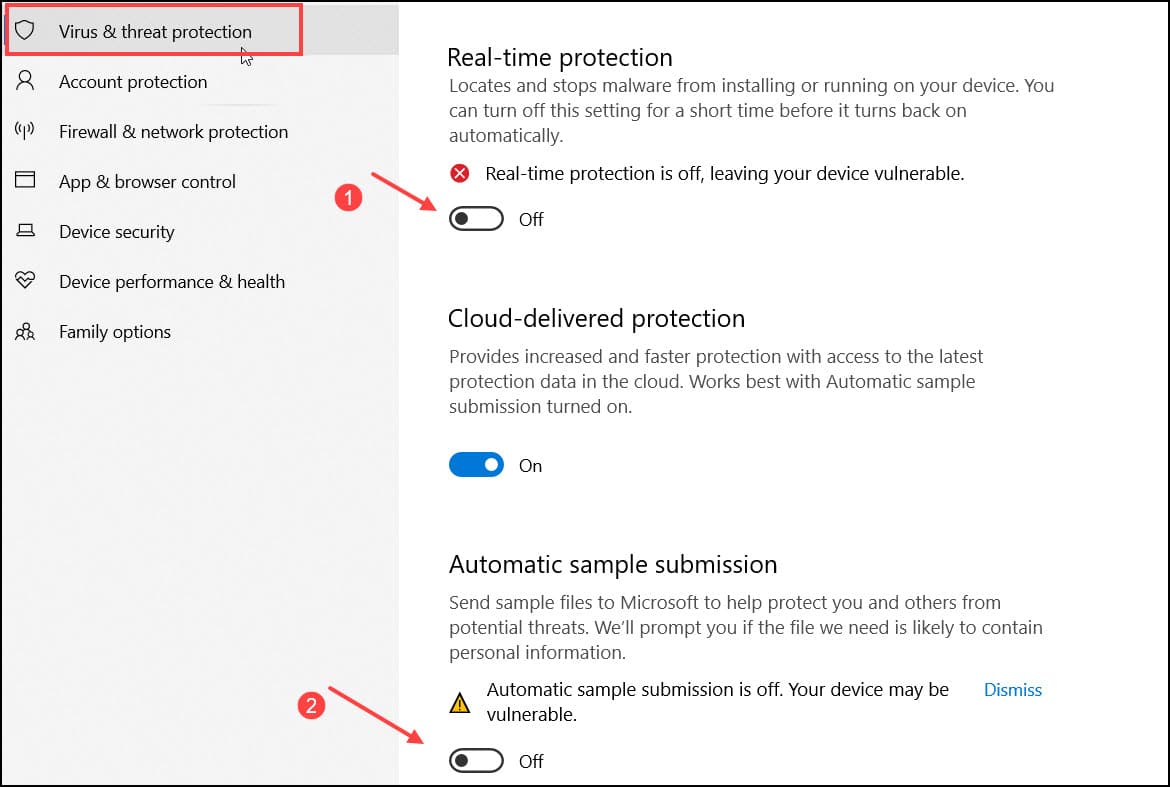
- Next, select the Virus and threat protection.
- Click on the Manage settings option in the Virus & threat protection settings section.
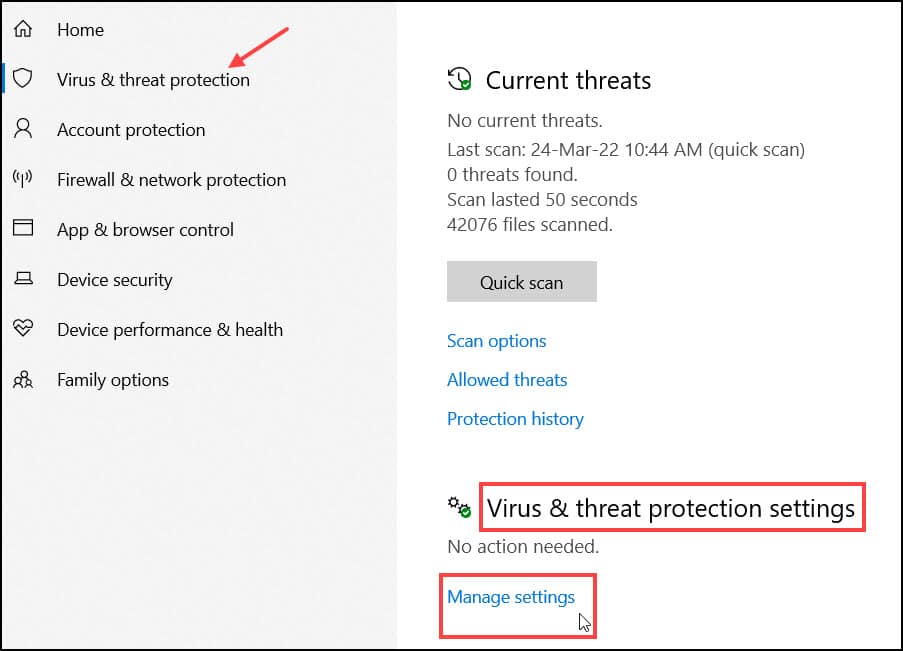
- Turn off the Real-time protection toggle to disable Windows Defender.
If you are using any third-party antivirus, then disable that too.
Now go and check if still, laptop camera is not working.
Wrapping Up
Hopefully after reading the article you can easily find out the proper way when laptop camera is not working.
If you still have questions regarding this matter, asks us in the comment section below.