Many users have reported that they face a glitch with their browser where when they try to load a webpage, Google Chrome freezes and shows the error ‘Waiting for cache’ at the bottom left side of the status bar.
When this happens, the website freezes and loads very slowly, and your system may freeze as well with the system resources consumed to the full.
What Does ‘Waiting For Cache’ Mean?
This issue affects Windows 10 PCs operating with SSDs more than those running traditional HDDs.
Your browser downloads and stores some data in advance so that the future requests for that data can be served faster. This data is called cache and stored on your system so that your browser can load websites faster when required. When this cache becomes inaccessible, Chrome is unable to access this information, and the error “Chrome is ‘Waiting for cache’” is displayed on the screen.

How To Solve Google Chrome ‘Waiting For Cache’?
Now that we have discussed why the error occurs, I will now show how to fix the “‘Waiting for cache’” error using the four methods given below. If Chrome is freezing Windows 10 on your device as well, you can follow these steps to solve Chrome waiting for cache.
# Fix 1: Clear Browser Cache
This issue is usually happening due to corrupt cache files on your system. Clearing these caches will allow Chrome to recreate the cache library and remove the problem you are having.
To clear cache in Chrome, follow these steps:
- Open Chrome.
- Click on the hamburger menu (≡).
- Scroll down to hover on More Tools.
- Select Clear browsing data.
Alternatively, press Ctrl + Shift + Del key to launch the Clear browsing data page - In the Clear browsing data dialog, choose All time in the time range drop-down list.
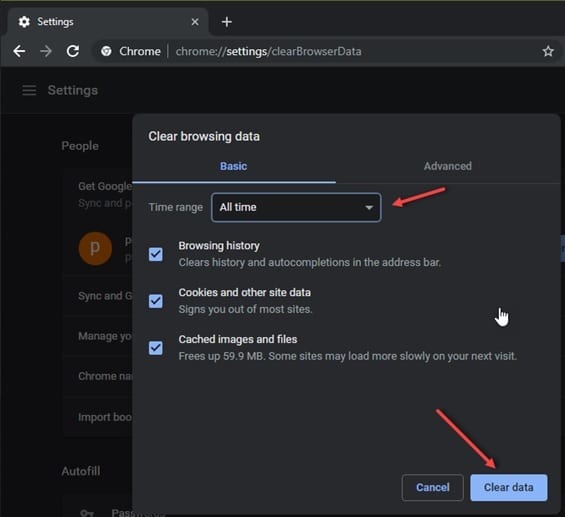
6. Tick all the checkboxes that you want to see removed.
7. Click Clear data.
8. Restart Chrome.
This will force Chrome to download cache for your websites again, thereby removing any corrupt or inaccessible cache files that were causing the issue.
# Fix 2: Prevent Chrome From Writing To Your SSD
If clearing the cache did not help you solve the “‘Waiting for cache’” error, you can also try this method that stops writing cache to your SSD.
This feature is achieved by disabling the Disk Write Caching feature on Windows 10. The Disk Write Caching feature is a useful feature that improves performance and speed, but it is far from perfect as it causes many other problems like high memory loss.
If you don’t mind the slight loss in performance in exchange of error-free Chrome, you can try disabling the Disk Write Caching on Windows 10.
- Open a Run dialogue by pressing Win + R.
- Type devmgmt.msc and press Enter to open the device manager.

3. In Device Manager, scroll to Disk drives and click on the arrow next to it to expand it.
4. In the list of drives attached to your computer, right-click on the SSD on which Chrome is installed.
5. Select Properties.
6. Under the Policies tab, uncheck the Enable Write caching on the device
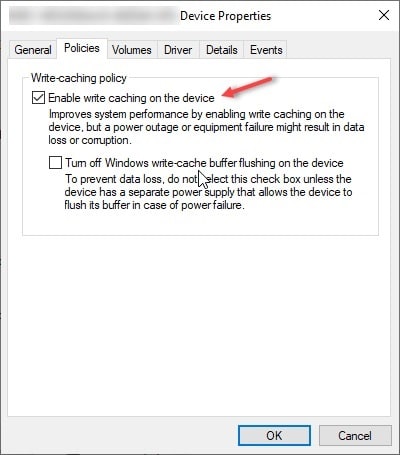
7. Click OK.
This will turn off the Disk Write Caching feature for Chrome and solve the error you were having.
# Fix 3: Reset Chrome To Default Settings
If disabling the Disk Write Caching fails to solve your issue, you can try resetting Chrome to its default settings to solve the “‘Waiting for cache’” error.
Note: you will lose all the customization and other settings that you applied to Chrome and revert everything back to factory settings.
To reset Chrome, follow these steps:
- Open Chrome.
- Click on the hamburger menu (≡).
- Click on Settings.
- Click on the hamburger menu under settings in the top left corner and click on Advanced.
- Click on Reset and Clean-up.
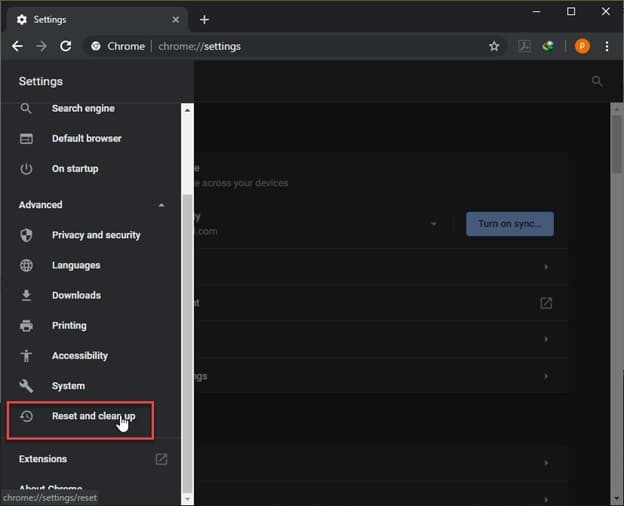
Alternatively, visit this page: chrome://settings/reset
6. Click on Restore settings to their original defaults.
7. In the following dialog box, click on Reset settings.
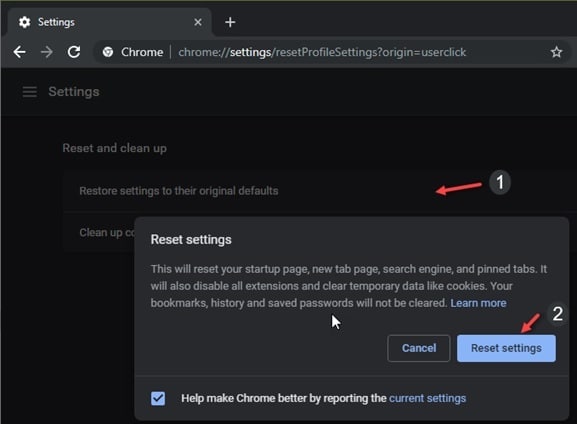
This will reset Chrome to its default settings just like the way it was when newly installed.
# Fix 4: Reinstall Chrome
If all other fixes fail, the final option you are left with is to reinstall Chrome.
First check if there are any pending updates that you might have missed, as this will rule out some bug that was fixed in the later update.
If there were no pending updates, uninstall Chrome from your system and download a fresh copy of the installer and then finish the installation.
Conclusion
Most the time this error occurs is because of corrupted cache data on your system, although sometimes it may occur because of corrupted Chrome installation files as well. Now you know how to resolve the Google Chrome “‘Waiting for cache’” issue in Windows 10. Did you find this useful? Comment below to discuss further the same.
I am afraid to do this because how will I be able to access webpages that have my user name and password stored already that I don’t know the passwords for. Previously when I registered on these sites, google would recommend a password and store it for me. The passwords had all kind of letters and symbols in them and I would never be able to figure them out.