Steam is one of the most popular online game stores for the desktop gaming environment. It hosts hundreds of games from both giant game developers and small scale developers as well. The Store also has a desktop client that brings the same functionality of the web servers into a native app.
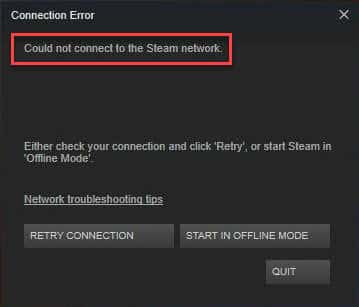
However, the application faces problems from time to time, with many users reporting certain errors that can prevent them from accessing their games. One such error is one where users are presented with an error message that says, ‘could not connect to Steam network’.
Also read: Steam Game Won’t Stop Running – How To Fix ?
Why Is Steam Not Connecting To The Network?
There are many reasons why your system can’t connect to Steam. The most common reason surrounding the Steam connection error is actually an error with your internet connection. Troubleshooting this revolves around checking your physical connection and the protocols revolving around the connection.
Users have also reported that when the core installation files of the Steam app get corrupted or missing, they get errors regarding Steam not connecting to the network.
How To Solve Could Not Connect To Steam Network Error Message?
Now that you know what may be causing the ‘could not connect to Steam network’ error on your computer, here are some simple solutions that you can try in order to solve this error.
Solution 1: Restart Your Network
The ‘could not connect to Steam network’ error can be caused by an unstable connection. You need to restart your network if this happens, as the Steam client on your computer may not be able to download the necessary files to synchronize your device with the servers.
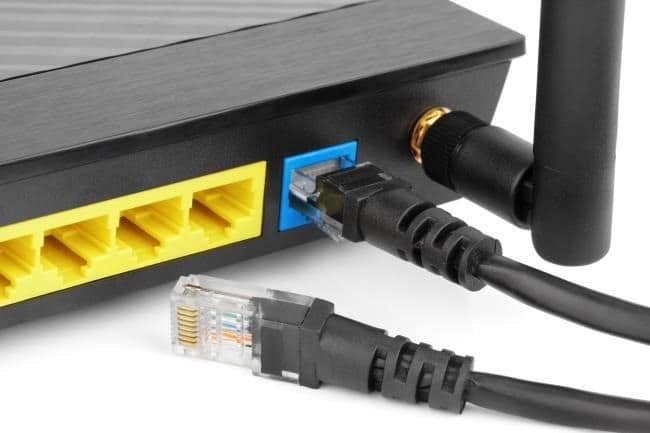
To restart your network, you need to unplug the cables from your router to your computer, and power cycle your router. This involves discharging the router, and then restarting it.
Next, you need to connect the cables back, and log into your ISP terminal if that is an option. Or else, simply connect the cables back, and enjoy your internet connection.
Upon restart, you should be able to connect to the Steam servers using the Steam client software, and the Steam not connecting error should now be resolved.
Solution 2: Use The Internet Troubleshooter
If you see that the internet is down and you are not able to load any website or app, you can try to run the Internet troubleshooter to diagnose any internet problems.
We have already covered the simple steps to run the internet troubleshooter in Solution 2 of our article that deals with solve the can’t reach this page error on Microsoft Edge. You can follow those steps to diagnose any errors with your internet.
Wait for the troubleshooter to find your error. For simple errors, the troubleshooter itself can solve your issues and help you solve the ‘could not connect to Steam network’ error message.
Solution 3: Change Steam’s Internet Protocol
Normally, Steam connects to the internet using the User Datagram Protocol (UDP). However, if you see Steam not connecting to the servers, you can try to switch to the TCP client instead, for troubleshooting. This should eliminate any issues with the protocols.
To use the TCP protocol for Steam, follow these steps:
- Make sure that you have a Steam desktop shortcut. If the shortcut does not exist, go to the Steam folder [by default it is C:\Program Files (x86)\Steam], and create a desktop shortcut by selecting the appropriate option from the right-click context menu.
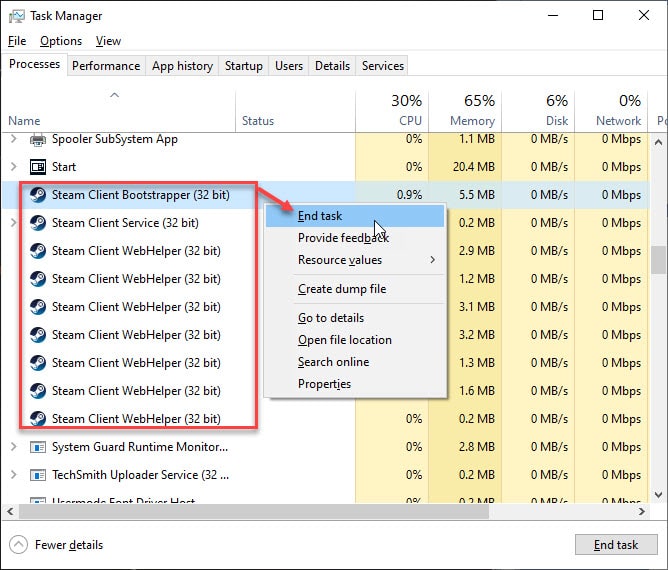
- Once you have ensured that you have a Steam desktop icon, go to the task manager. You can use the keyboard shortcut Ctrl + Shift + Esc.
- End all the tasks that are related to the Steam client software. One of them will be the Steam Client Bootstrapper process.
- Now, go to the desktop and locate the Steam shortcut.
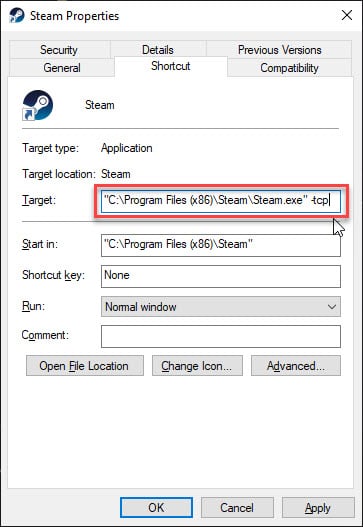
- Right-click on the Steam shortcut, and select Properties from the context menu.
- Under the Shortcut tab, locate the Target section.
- In the Target box, write –tcp after space at the end of the location.
- Click on Apply followed by OK to confirm the changes.
Now, launch the Steam application, and check if you still get the Steam can’t connect error. The Steam connection error should now be resolved.
Caution: Using the TCP protocols can lead to latency errors in the Steam client. If you see that Steam fails to run, revert to the original settings by removing the text that you added at the end of the target location.
Also read: How To Fix “An Issue With Your Computer Is Blocking The VAC System” Error?
Solution 4: Flush DNS And TCP/IP Stack
Network throttle is a very common issue that is caused upon continuous usage of a network. This issue is the culprit behind many errors, that revolve around the computer not being able to connect to the internet freely. This throttle is mainly caused due to stored up DNS cache.
You can follow these steps to flush the DNS cache and reset the TCP/IP stack:
- Open an elevated Command Prompt. To do this, open a Run window by pressing Win + R. Type cmd and press Ctrl + Shift + Enter to launch Command Prompt with administrative privileges.
- Type the following commands in order to flush your DNS cache and reset TCP/IP:
ipconfig /release
ipconfig /flushdns
ipconfig /renew
nbtstat –r
netsh int ip reset resetlog.txt
netsh winsock reset - Wait for the confirmation message, and then reboot your device.
Now check if you still get the ‘could not connect to Steam network’ error message. This should solve your Steam not connecting error.
Solution 5: Rename ClientRegistry.Blob
The Steam Client binary data is stored in the ClientRegistry.blob file. If you see Steam connection error, you can follow the solution 4 that is provided in our guide Steam won’t open. This should help you solve the error.
Solution 6: Reinstall Steam
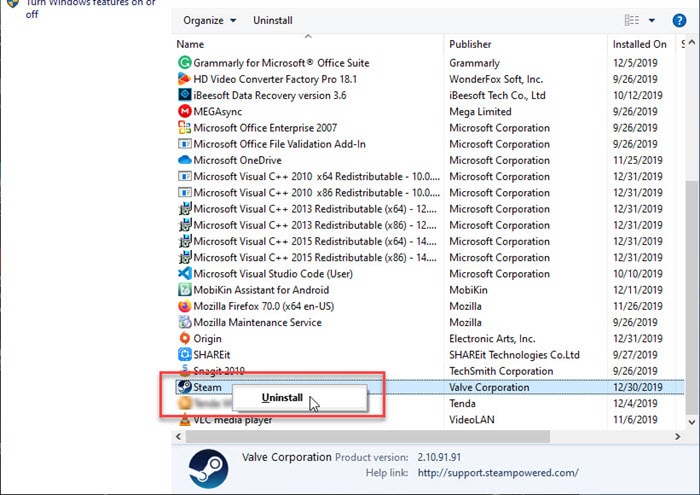
If none of the solutions above helped you solve the ‘can’t connect to Steam’ error, you need to reinstall the Steam client application on your device. This process usually takes a lot of time, so make sure that you do this when your PC will not be interrupted. Simply follow these steps:
- Uninstall the Steam application from your control panel. Else, you can also use third party batch uninstallers to remove residual files as well.
- Download the installer for Steam from their official website, and install a fresh copy of the software.
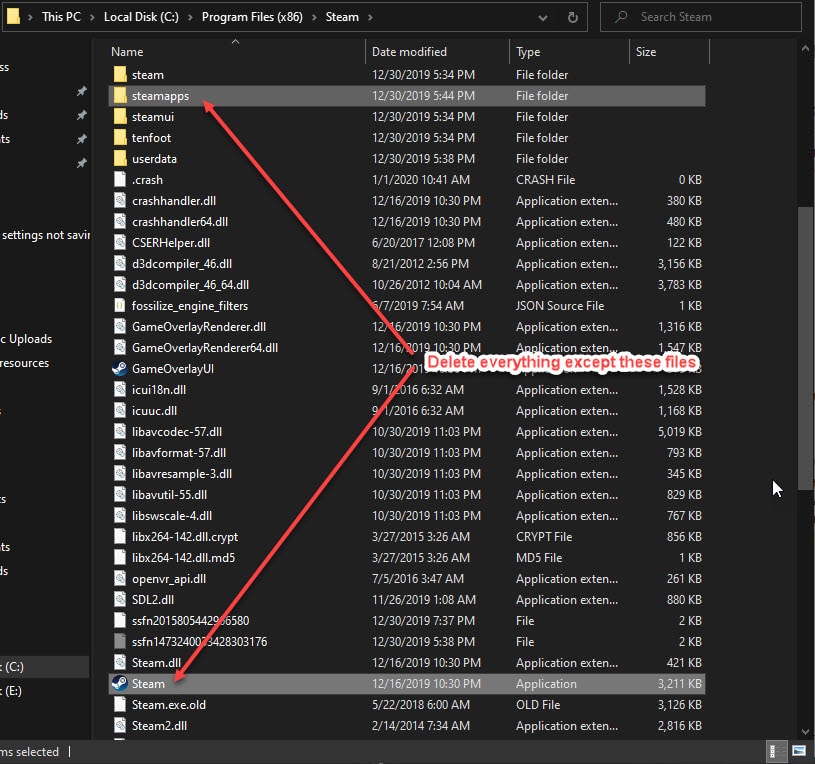
- However, if you have many games downloaded from the Steam store, you can install Steam without deleting the installed files. For that follow these steps:
- Browse to the Steam directory, and locate the following files
Steam.exe (Application)
steamapps (Folder) - Delete all the files except these files mentioned in the step above.
- Restart Steam as an administrator.
- Browse to the Steam directory, and locate the following files
Steam should download the missing files again and will open normally when the download completes.
Wrapping Up
Steam is one of the most popular online gaming platforms, and the Steam not connecting to the network error can be very annoying as it prevents you from accessing your games. Now you know how to solve the ‘could not connect to Steam network’ error message using the solutions provided above. Comment below if you found this useful, and to discuss further the same.